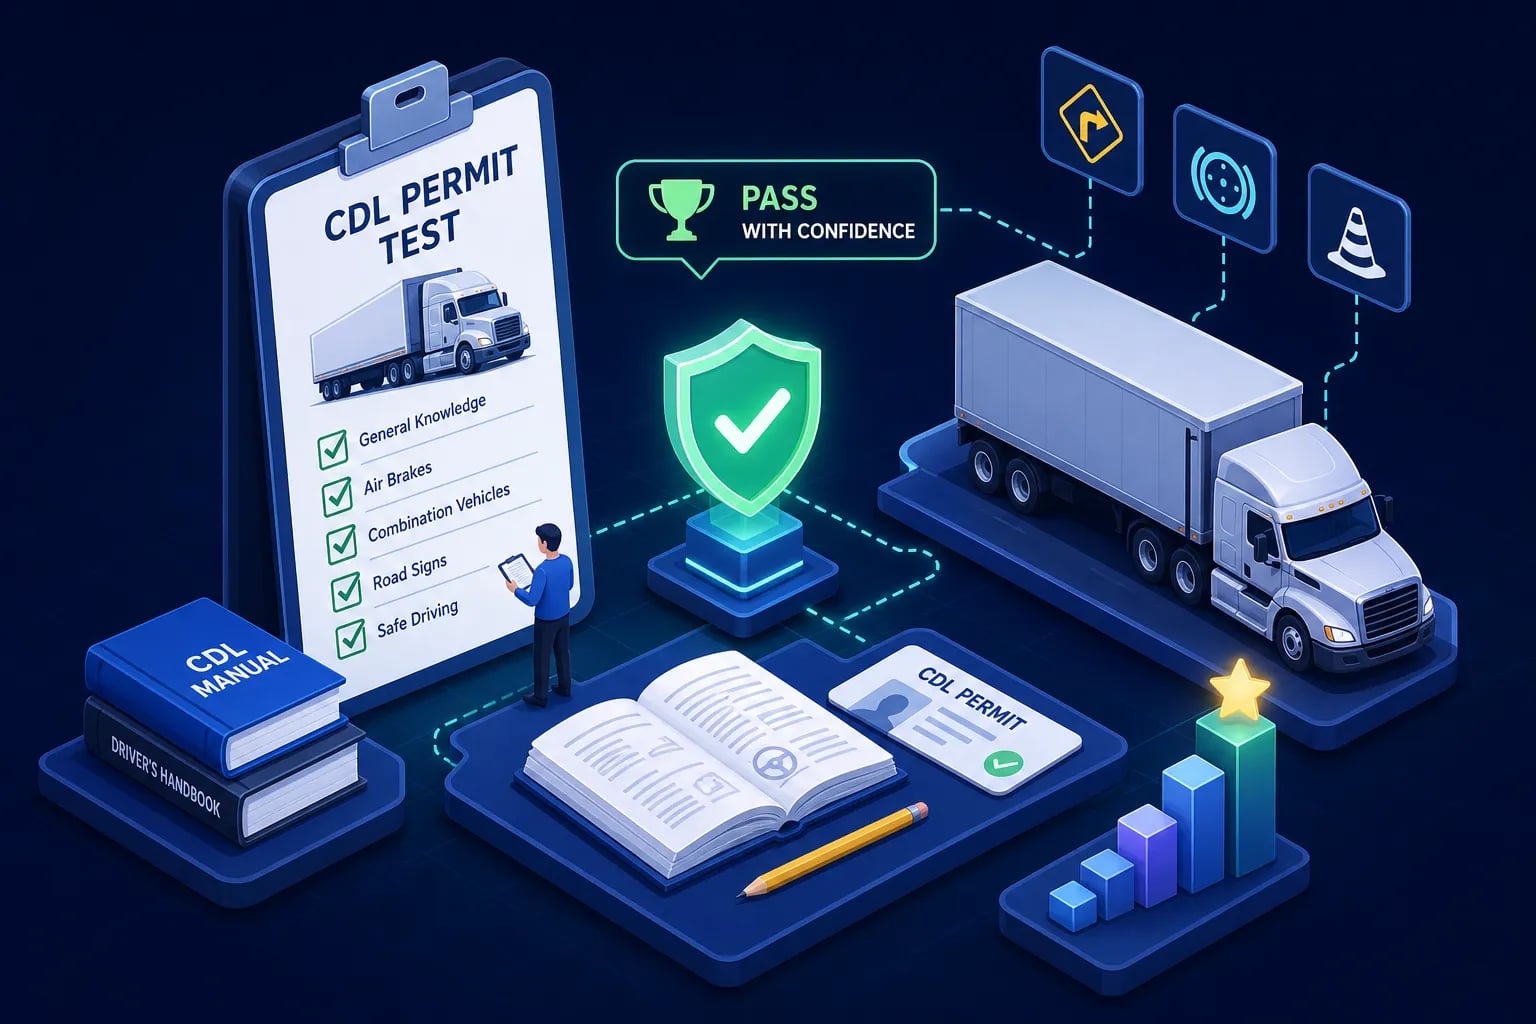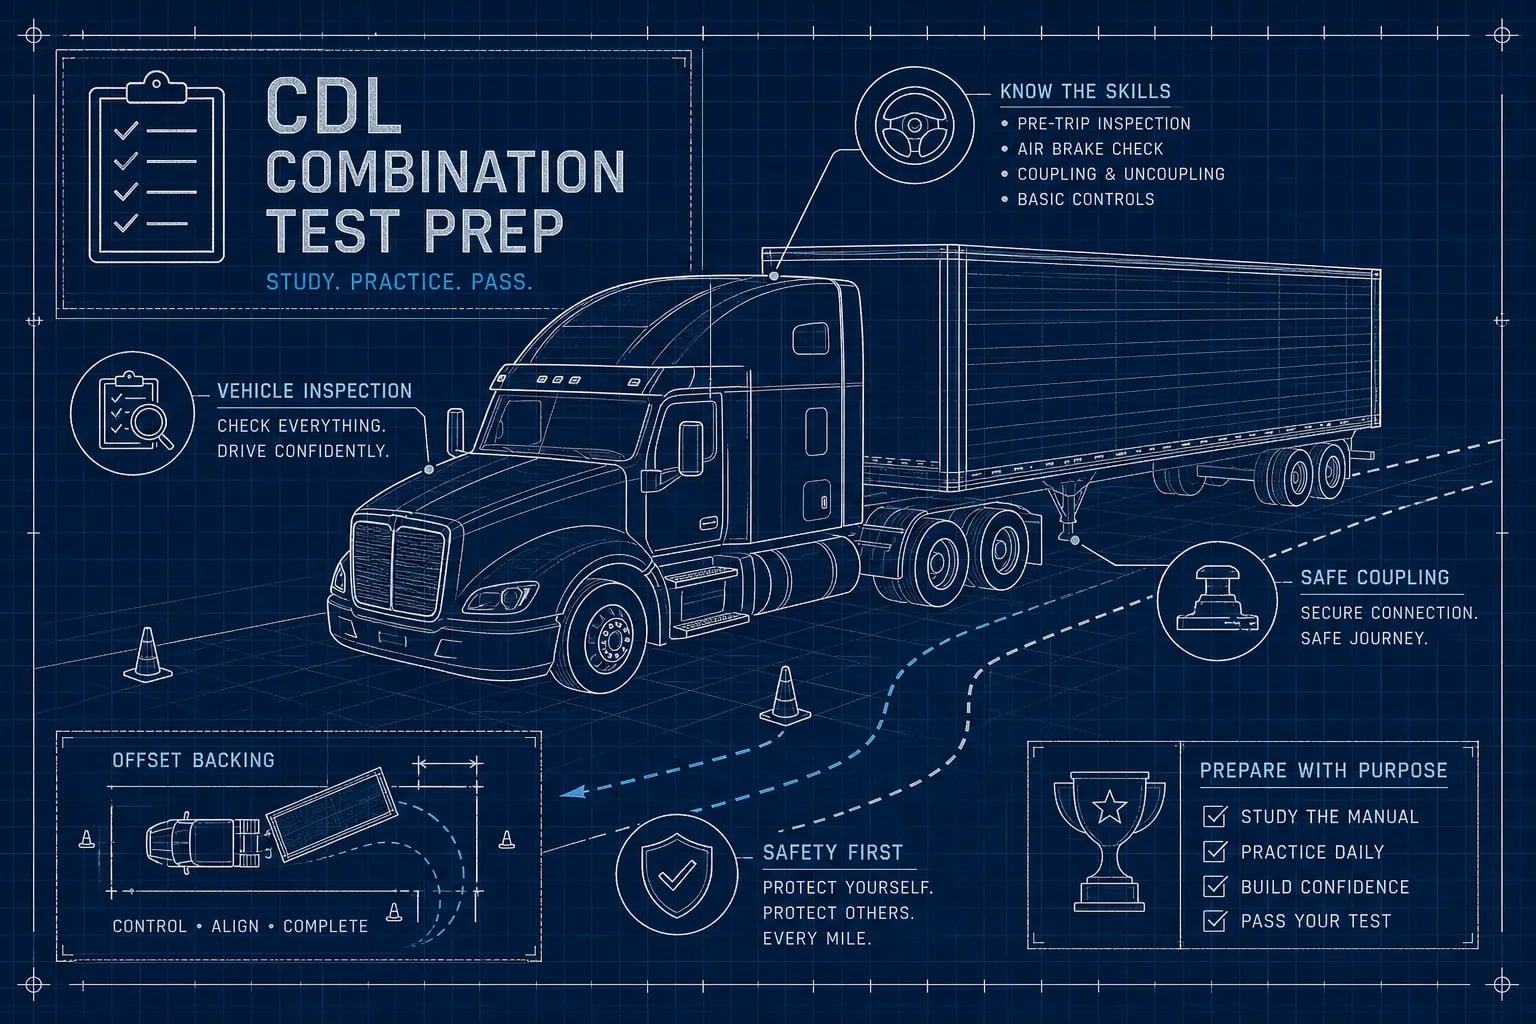
The combination vehicles test stops more Class A candidates than almost any other CDL knowledge exam, and the reason isn't that the material is obscure. The problem is that it covers interconnected mechanical systems where understanding one concept requires knowing how it connects to the next. You can't fully understand jackknifing without understanding braking. You can't answer rollover questions without understanding load distribution and speed together.
Here's the format you're working with: 20 questions, an 80% passing threshold, meaning at least 16 correct answers. Some states vary the question count slightly, so confirm with your state DMV before your test date. What doesn't vary is the subject matter: coupling and uncoupling, trailer braking systems, rollover and jackknife mechanics, and the combination-specific pre-trip inspection. This guide works through each of those areas the way an examiner thinks about them, not just as a list of facts to memorize.
After working through each section, use CDLTest360's combination vehicles practice module as a benchmark tool. It won't just tell you what you got wrong, it isolates missed questions so you can drill the specific gaps before you walk into the DMV. For now, start with what the exam actually covers.
What the combination vehicles test actually covers
The CDL combination vehicles test is a separate exam section for Class A applicants. It isn't a repeat of general knowledge with harder questions. It assumes you already understand basic truck operation and focuses entirely on how adding a trailer changes the vehicle's behavior, stopping characteristics, and failure modes.
Core topic areas on the exam
The main subject categories on the combination vehicle knowledge test are: coupling and uncoupling, driving combination vehicles safely, off-tracking, braking and trailer brake systems, ABS, rollover and jackknife prevention, rearward amplification, and doubles/triples handling where applicable. These aren't isolated trivia categories, they connect to each other in ways that matter. Take high center of gravity as one example: understanding why it increases rollover risk helps you answer questions in the rollover section, the jackknife section, and the handling section simultaneously.
The mechanical logic running through all of these topics is the same: adding a trailer multiplies the forces at work on the vehicle. More weight means more stopping distance. More length means tighter turning geometry. Articulation at the fifth wheel creates new failure modes that simply don't exist on a single-unit truck. Once you understand that core idea, the specific questions start making sense rather than feeling arbitrary.
How this test differs from general knowledge
General knowledge covers the rules and principles of commercial driving broadly. The combination vehicles test narrows the focus to the mechanical and operational specifics of multi-unit rigs. Questions here expect you to know the sequence of coupling steps, the difference between the emergency and service air lines, and exactly what happens when trailer wheels lock under braking. Candidates who treat this section like a second pass at general knowledge consistently underprepare on the mechanical system questions and pay for it at the DMV.
Coupling and uncoupling on the combination vehicles test
Coupling and uncoupling questions are among the most heavily tested on this exam. Examiners don't just want to know that you can back under a trailer. They want to know that you understand the correct sequence, the safety checks embedded within that sequence, and what a failed coupling looks like before the vehicle moves an inch.
Step-by-step coupling sequence
The FMCSA-aligned coupling procedure follows a specific order that the knowledge test expects you to know cold. Start by inspecting the fifth wheel: confirm it's securely mounted, the plate is properly greased, the locking jaws are open, and the release handle is in the lock-ready position. Confirm the trailer brakes are set and the landing gear is fully raised. Position the tractor directly in front of the trailer, then back slowly until the fifth wheel contacts and locks onto the kingpin.
Once contact is made, perform the tug test: apply the trailer brakes, put the tractor in low forward gear, and gently pull against the trailer. If the trailer stays connected, that's a positive indicator, but it isn't the end of the inspection. Use a flashlight to visually confirm the locking jaws are fully closed around the shank of the kingpin, not merely behind the head. The release arm must be in the locked position with the safety latch engaged, and there must be no gap between the fifth-wheel plate and the trailer apron.
After confirming the coupling visually, connect the air lines: emergency line to the emergency connection, service line to the service connection, then the electrical cord. Push in the trailer air-supply control to charge the trailer's air system, test for air leaks, then raise and secure the landing gear completely. Stow the crank handle in its holder before the vehicle moves.
The tug test and jaw inspection: where candidates lose points
The tug test is a critical exam point, but a common misconception is that passing the tug test means the coupling is confirmed. It doesn't. The tug test is a functional check, not a visual one. Visual confirmation of closed jaws around the kingpin shank is required before the vehicle is considered safely coupled. Skipping the visual inspection is scored as a major error on both the knowledge test and the combination vehicle skills test, even if the tug test was performed correctly.
Uncoupling sequence you need to memorize
The uncoupling procedure has its own required order. Park on firm, level ground with the tractor and trailer aligned straight. Set both the tractor and trailer parking brakes. Lower the landing gear until it firmly contacts the ground; if the trailer is loaded, give a few extra low-gear turns to transfer some of the trailer's weight from the tractor to the landing gear. From there, disconnect the air lines and secure them on dummy couplers, disconnect the electrical cord, pull the fifth-wheel release handle to unlock the jaws, and pull forward slowly in low gear until the fifth wheel completely clears the kingpin. Set the tractor parking brake and confirm the trailer is stable before walking away.
Air lines, glad hands, and trailer braking systems
Braking questions on the combination vehicles test trip up candidates more often than almost any other category, because the system involves two separate air circuits operating together. Knowing the components isn't enough. You need to understand how they interact, what each one controls, and what happens when one fails.
How the emergency and service lines work
The emergency line, also called the supply line, supplies air to the trailer's air tanks and controls the trailer's emergency brakes. If pressure in this line drops, the trailer's emergency brakes apply automatically. That's by design: a trailer separation or air-line rupture triggers the brakes without any action from the driver. The service line carries the controlled braking signal from the foot pedal to the trailer's service brakes during normal operation. These two lines do completely different jobs, and the exam tests whether you can tell them apart under pressure.
Glad-hand seals must be intact for either line to function properly. When the glad hands are disconnected, they must be attached to dummy couplers to keep dirt and moisture out of the air system. Pushing in the trailer air-supply valve charges the trailer's system; pulling it out shuts off the air supply and activates the trailer's spring brakes.
The trailer hand valve and when not to use it
The trailer hand valve controls only the trailer's brakes. The exam tests this distinction directly. The hand valve is used to test the trailer brakes, not to slow the vehicle while driving, those are two different things. Using the trailer hand valve as a driving brake can lock the trailer wheels without affecting the tractor, creating a trailer-skid condition that dramatically increases jackknife risk. If a question asks what the hand valve is for, the answer is testing, not slowing the vehicle.
ABS on combination vehicles
ABS prevents wheel lockup by automatically modulating brake pressure. On combination vehicles, the tractor and trailer may have ABS independently of each other: the tractor may have ABS while the trailer does not, or the opposite. Tractor ABS primarily helps maintain steering control and reduces the chance of a tractor jackknife. Trailer ABS reduces trailer wheel lockup and swing-out. Neither system shortens stopping distance below what a properly functioning standard brake system achieves, and neither eliminates the need for appropriate following distance or reduced speed in poor conditions. The exam frequently asks candidates to recognize that ABS doesn't change the fundamentals of safe driving.
Rollover prevention and the crack-the-whip effect
Rollover is the single most dangerous crash type for combination vehicles. The exam tests whether candidates understand the physics driving it, because questions in this area describe scenarios and ask what should happen next. Memorizing a rule without understanding the forces behind it leaves you guessing when the wording changes.
Why combination vehicles roll over more easily than single trucks
Rollover results from the same three conditions every time: high speed, sharp steering inputs, and a high center of gravity. When cargo is loaded high or positioned off-center, sideways forces during a turn are amplified far beyond what the same turn would produce on a lightly loaded vehicle. The exam expects candidates to recognize the contributing conditions: entering a curve too fast, making sudden lane changes, taking exit ramps at highway speed, and driving in high crosswinds all increase rollover risk through the same basic mechanism.
Rearward amplification and the last trailer
Rearward amplification describes how a steering input at the tractor creates a progressively larger and faster movement toward the rear of the combination. The farther back in the combination a unit is, the more exaggerated its response to any steering change. On doubles or triples, the rear trailer experiences the most amplified motion. The knowledge test calls this the crack-the-whip effect: a quick steering movement at the tractor can send the last trailer into a rollover even when the tractor itself remains upright. Questions on this topic ask which trailer in a doubles combination is most likely to roll over. The answer is always the rear trailer.
Driving habits that reduce rollover risk
Slow down before curves, ramps, and lane changes. Never apply hard braking in a curve. Keep cargo as low as possible and evenly distributed across the trailer floor. Use smooth, gradual steering inputs rather than sharp corrections. The knowledge test frames questions in this area by asking which factor increases rollover risk or what a driver should do when the trailer begins to tip. In both cases, the correct answer reflects an understanding of the underlying physics: reduce the forces, not just react to the symptoms.
Jackknife causes, prevention, and recovery
A jackknife occurs when the tractor and trailer fold toward each other at the fifth wheel. The exam tests both what triggers it and what to do when it starts, which means you need to understand cause and response as a connected sequence rather than two separate facts.
What triggers a jackknife
Drive-wheel skids are the most common cause. When the drive wheels lock under hard braking, the tractor loses directional control and the trailer's momentum continues pushing it forward and sideways. Trailer-wheel skids are a separate mechanism: when the trailer wheels lock, the trailer can swing outward and pull the tractor with it. Common exam scenarios involve jackknifes on slippery roads, sudden hard braking, and overcorrection during a skid. The misuse of the trailer hand valve during normal driving can also initiate a trailer-wheel skid, which is why the exam specifically tests what that valve is for.
How to respond when a skid begins
If the drive wheels begin to skid, release the brakes immediately to restore traction, then steer straight. Continued braking keeps the wheels locked and accelerates the jackknife. If the trailer wheels lock, release the brakes to let the wheels roll again. The exam's preferred prevention strategy is smooth, early braking with adequate following distance, which is at least one second for every 10 feet of vehicle length, plus one additional second above 40 mph. Recovery from a developing jackknife is always about restoring traction first, not fighting the steering wheel.
Pre-trip inspection for the combination vehicles test
The combination vehicle pre-trip inspection includes all the standard components of a truck inspection plus the coupling system. On the knowledge test, candidates are expected to know what to inspect and what a defective condition looks like. On the skills test, the standard goes further.
Coupling system inspection points
The combination-specific portion of the pre-trip covers these items:
-
Fifth-wheel mounting and skid plate lubrication
-
Locking jaw engagement around the kingpin shank
-
Release arm in the locked position with the safety latch engaged
-
No gap between the trailer apron and the fifth-wheel plate
-
Glad hands seated with intact seals
-
Air lines free of cuts or kinks and not dragging on the ground
-
Electrical cord connected and secured
-
Landing gear fully raised with the crank handle stowed
Missing any of these items on either the knowledge test or the skills test is scored as an error.
How examiners grade the inspection walkthrough
On the skills test, candidates must name each component, point to or touch it, state what they are checking, and describe the condition that would make it unsafe. Saying "I'm checking the brakes" earns nothing. The required pattern is: name it, point to it, state what you check, state the acceptable condition. Critical failures include missing a required item, failing to confirm coupling security, or ignoring an air leak. The maximum allowable air pressure loss during a static brake test on a combination vehicle is 3 psi per minute with brakes released, or 4 psi per minute with service brakes fully applied. The safest approach is to memorize your state's official combination-vehicle pre-trip checklist and practice saying it aloud until the pattern is automatic.
Practice questions with answer explanations
Working through realistic combination vehicle practice questions is the fastest way to find knowledge gaps before test day. The questions below reflect the topics most frequently tested on the combination vehicle knowledge exam, based on FMCSA-aligned content.
Coupling, air systems, and brake questions
Q: What position should the fifth wheel be in before coupling? Tilted down toward the rear of the tractor, with locking jaws open. This angle allows the trailer's kingpin to slide into the fifth-wheel throat correctly during the backing maneuver.
Q: What does the tug test confirm? That the locking jaws have engaged the kingpin. It does not replace visual inspection: after the tug test, use a flashlight to confirm the jaws are closed around the kingpin shank, not just behind its head.
Q: What is the purpose of the emergency air line? It supplies air to the trailer's air tanks and controls the trailer's emergency brakes. A loss of pressure in this line automatically applies the trailer emergency brakes, which is why a broken air line stops a runaway trailer.
Q: What happens when the trailer air-supply valve is pushed in? Air is supplied to the trailer and its air tanks are charged. Pulling the valve out shuts off air and applies the trailer's spring brakes.
Q: What should you do with glad hands when they are not connected? Attach them to dummy couplers. This keeps dirt and moisture out of the air lines, which protects seals and prevents valve contamination.
Q: When should the trailer hand valve be used? Only to test the trailer brakes. Using it to slow down while driving can lock the trailer wheels without affecting the tractor, creating conditions for a trailer skid and jackknife.
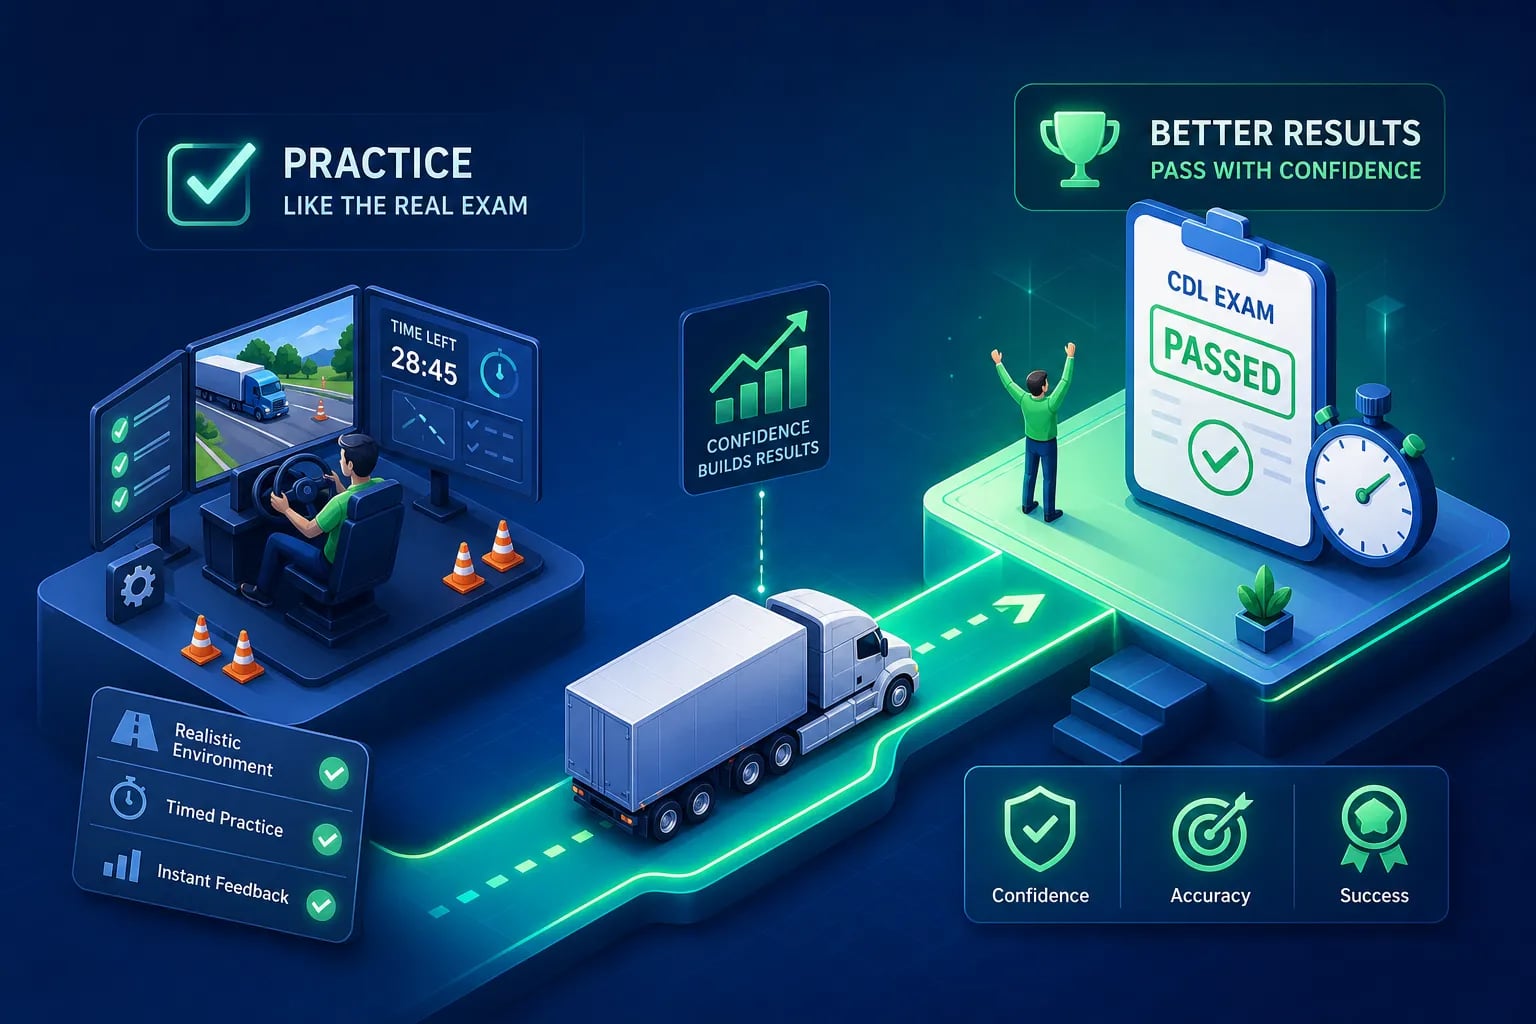
CDLTest360's combination vehicles practice module delivers timed exam simulations using FMCSA-aligned content, 50 questions at a time with an 80% passing threshold that mirrors the actual test. The missed-question loop re-drills only the items you got wrong, which makes study time far more efficient than re-reading the full manual. Use it to benchmark your readiness rather than guessing where you stand.
Rollover, jackknife, and handling questions
Q: What is off-tracking and how does it affect turning? Off-tracking means the trailer wheels follow a path inside the path of the tractor's front wheels during a turn. The longer the combination, the more the rear wheels cut the corner. In tight turns, this can put the trailer wheels over a curb, into a bike lane, or into an adjacent traffic lane.
Q: Which trailer in a doubles combination is most likely to roll over? The rear trailer. Rearward amplification causes the last unit to experience the greatest movement from any steering input at the tractor, making it the most vulnerable to rollover in a crack-the-whip scenario.
Q: Why can a bobtail tractor sometimes take longer to stop than a loaded combination? A bobtail tractor has less weight over its drive wheels, which reduces traction. With less weight pressing the drive axles down, the brakes can lock those wheels more readily, reducing control rather than improving it.
Q: What should you do if trailer wheels lock during braking? Release the brakes to let the wheels roll again, then reapply more gently. Locked trailer wheels cause the trailer to swing outward, which can pull the tractor into a jackknife.
Q: How do you calculate following distance for a long combination vehicle? Use at least one second for every 10 feet of vehicle length, plus one additional second when traveling above 40 mph. A 60-foot combination at 55 mph requires at least 7 seconds of following distance under normal conditions. Add more for rain, snow, ice, or reduced visibility.
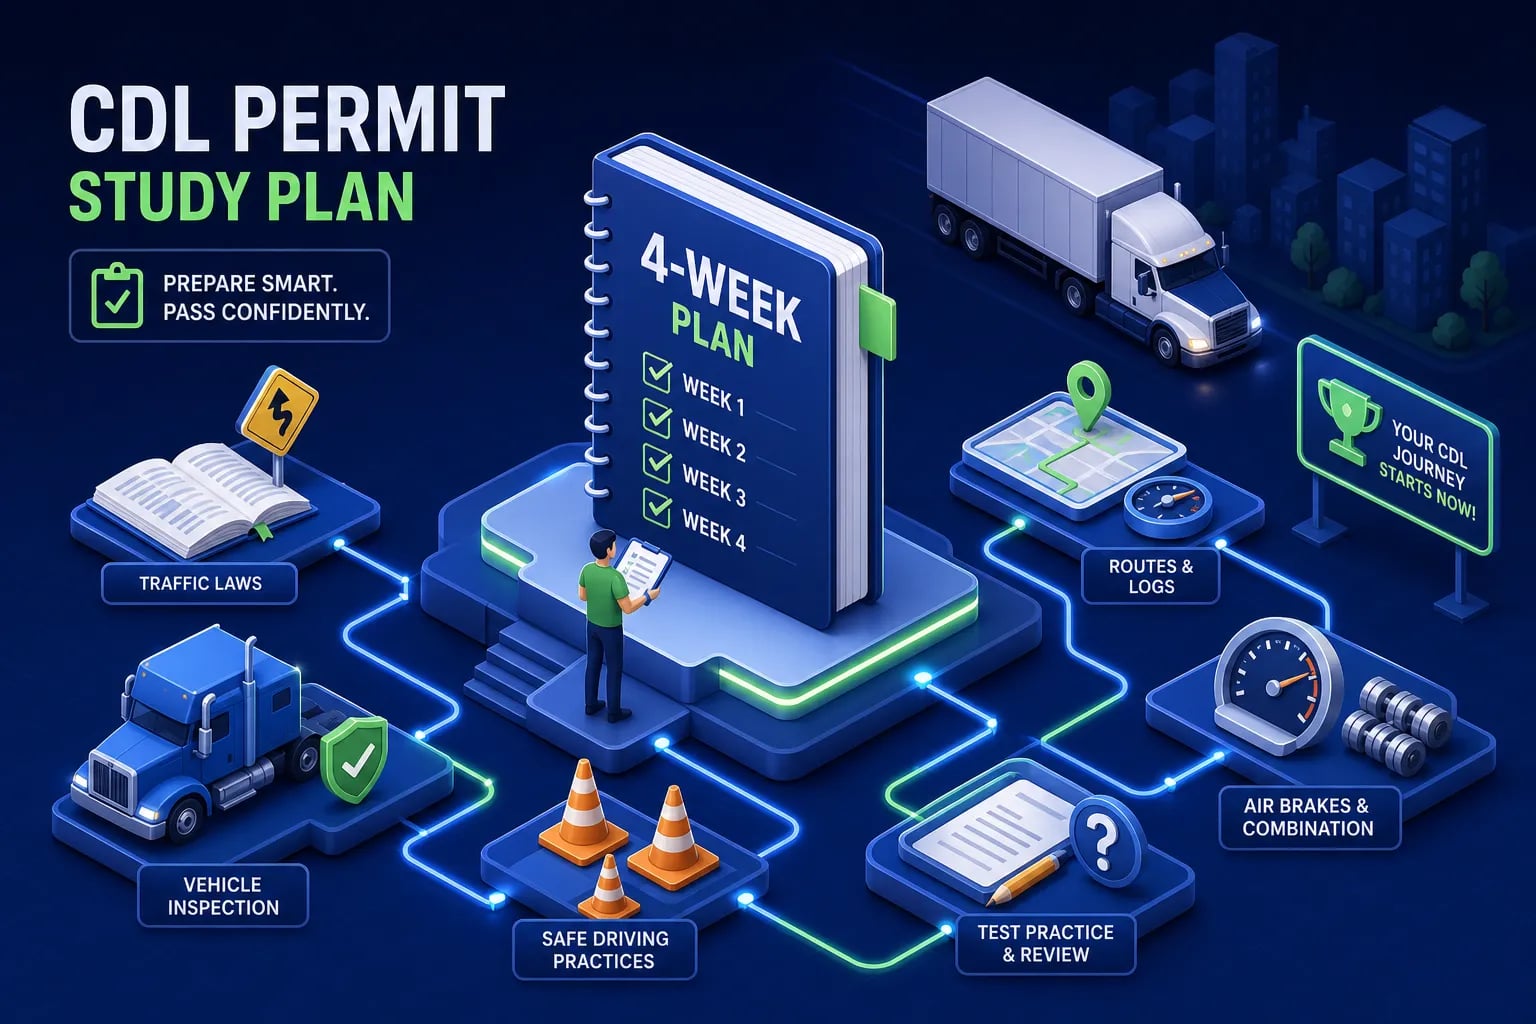
A 7-day study plan to reach exam readiness
Seven focused days is enough time for most candidates to move from unfamiliar to confident on this exam, provided each session is deliberate and builds on the one before it. The goal isn't to cover everything every day, it's to layer knowledge in a sequence that reinforces how the concepts connect.
Days 1, 3: Build your conceptual foundation
Day 1: Read the combination vehicles chapter of your state CDL manual once through without stopping. Don't highlight or take notes on the first read. Get the overall structure of the content in your head before trying to memorize details.
Day 2: Go back to the coupling and uncoupling procedures specifically. Write out the tug test and visual jaw inspection steps from memory without looking at the guide. Check your version against the manual and note every step you missed or got out of order.
Day 3: Focus entirely on braking systems. Trace how air moves from the foot pedal through the emergency line, service line, and glad hands to the trailer brakes. Sketch the system on a piece of paper if that helps. Understand what happens when the supply valve is pushed in versus pulled out, and why the emergency line applies trailer brakes automatically when pressure drops. This is the conceptual foundation for half the braking questions on the exam.
Days 4, 6: Practice questions and timed simulation
Day 4: Complete one untimed practice session focused on coupling, air systems, and brake questions. Review every incorrect answer with the explanation before moving on. Don't skip the explanations to get through more questions, understanding why an answer is correct is the entire point of the exercise.
Day 5: Shift focus to rollover, jackknife, off-tracking, and the crack-the-whip effect. Practice framing each answer around the underlying physics, not just the rule. If a question describes a scenario and asks what the driver should do, reason through the forces before selecting an answer.
Day 6: Run CDLTest360's timed exam simulation in combination vehicles mode under real test conditions. Closed room, no interruptions, timed. Note every missed question category after the session, and use the missed-question review loop that same evening to drill those specific topics before the knowledge fades. The goal of Day 6 is to identify what's still weak with two days left to fix it.
Day 7: Final review and confidence check
Day 7 is not for learning new material. Run through the coupling and uncoupling sequence from memory. Review the combination-specific pre-trip inspection checklist aloud using the name-it, point-to-it, state-what-you-check pattern. Take one more timed practice exam and treat the score as a readiness indicator. If you're scoring above 85% consistently, you're ready to schedule your test. If a specific topic is still below 80%, spend 30 focused minutes on that area using your state manual and a topic-specific quiz before sitting for the real exam. Don't try to cram everything on the final day, focus only on the identified gap.
Prepare smart, show up ready
The combination vehicles test is difficult because it requires connecting mechanical knowledge to real driving decisions. Coupling procedure, braking system logic, rollover prevention, and jackknife recovery aren't separate topics sitting in isolated boxes. They're all expressions of the same core understanding: how a multi-unit vehicle behaves under stress, and how the driver's choices either manage or amplify that stress.
Candidates who pass this section aren't necessarily the ones who memorized the most answers. They're the ones who understood the concepts well enough to reason through unfamiliar question wording. Treat every practice session as a diagnostic, not a score to feel good about. Use the result to find the gaps, drill those gaps specifically with targeted questions, and retest until the gaps close.
CDLTest360's combination vehicles module gives you the timed simulation, missed-question loop, and FMCSA-aligned content to replicate that cycle before you sit down at the DMV. Run the benchmark in your final prep days, know exactly where you stand going in, and work the combination vehicles test like the checkpoint it is, not the obstacle it doesn't have to be.
{ "@type": "Article", "datePublished": "2026-10-03T11:02:13.230Z", "dateModified": "2026-10-03T11:02:13.230Z", "headline": "CDL Combination Vehicles Test: Your Complete Study Guide", "description": "Prepare for the CDL combination vehicles test with this study guide: coupling steps, rollover prevention, braking systems, practice questions, and a 7-day plan.", "publisher": { "@type": "Organization", "name": "CDLTest360" }, "image": [ ] }