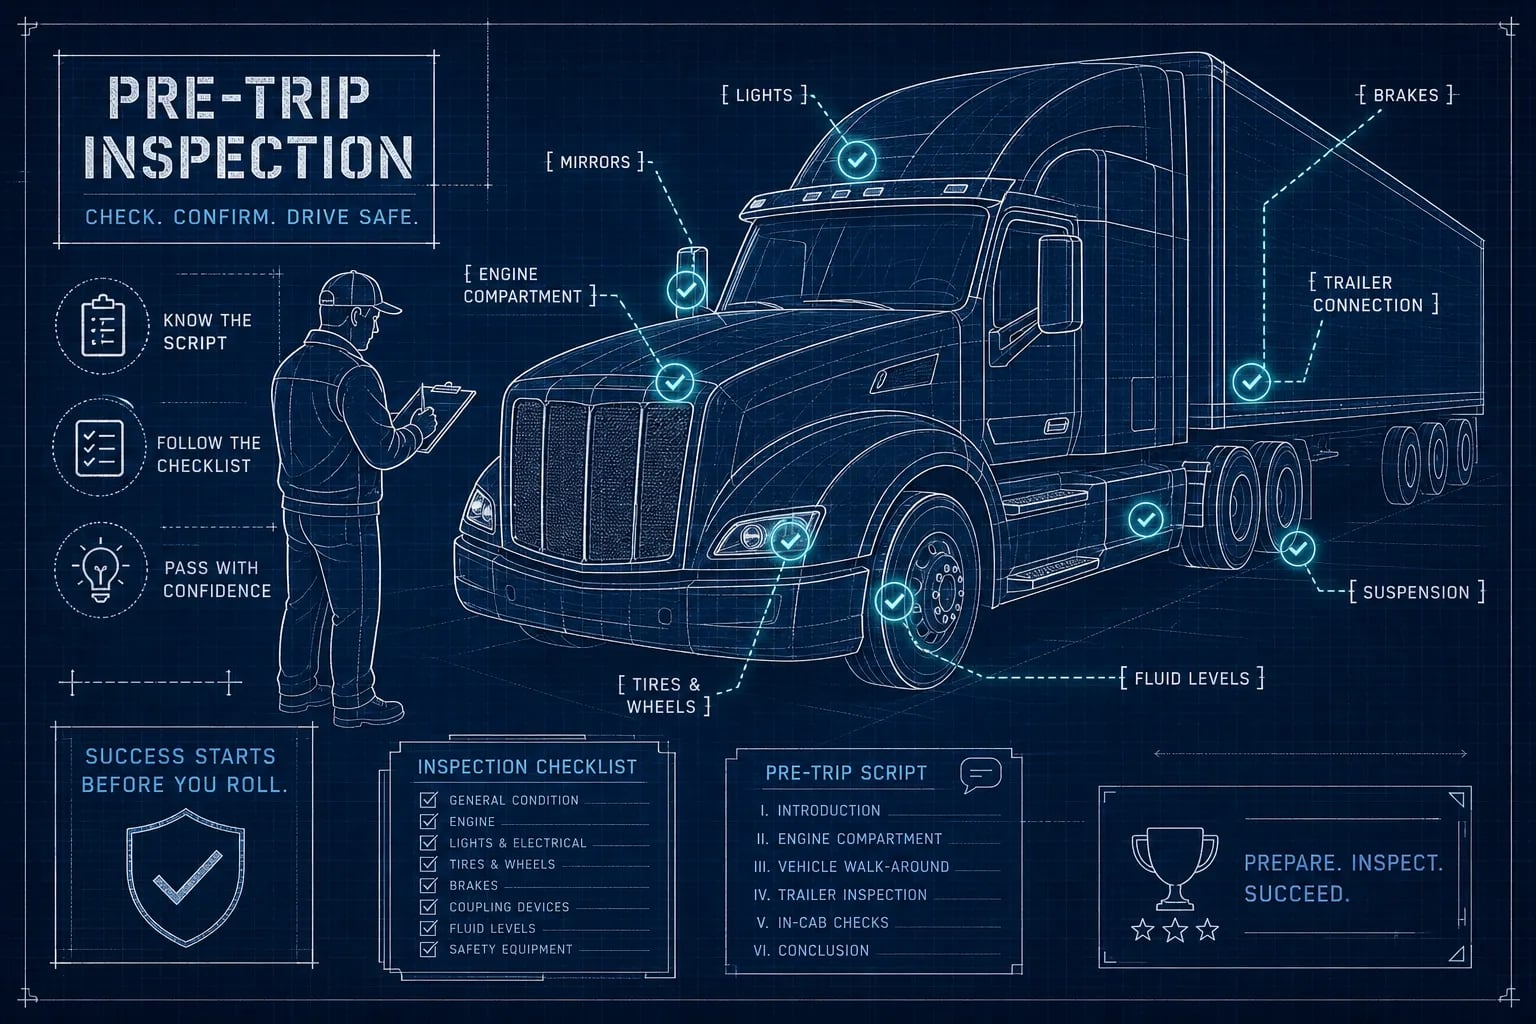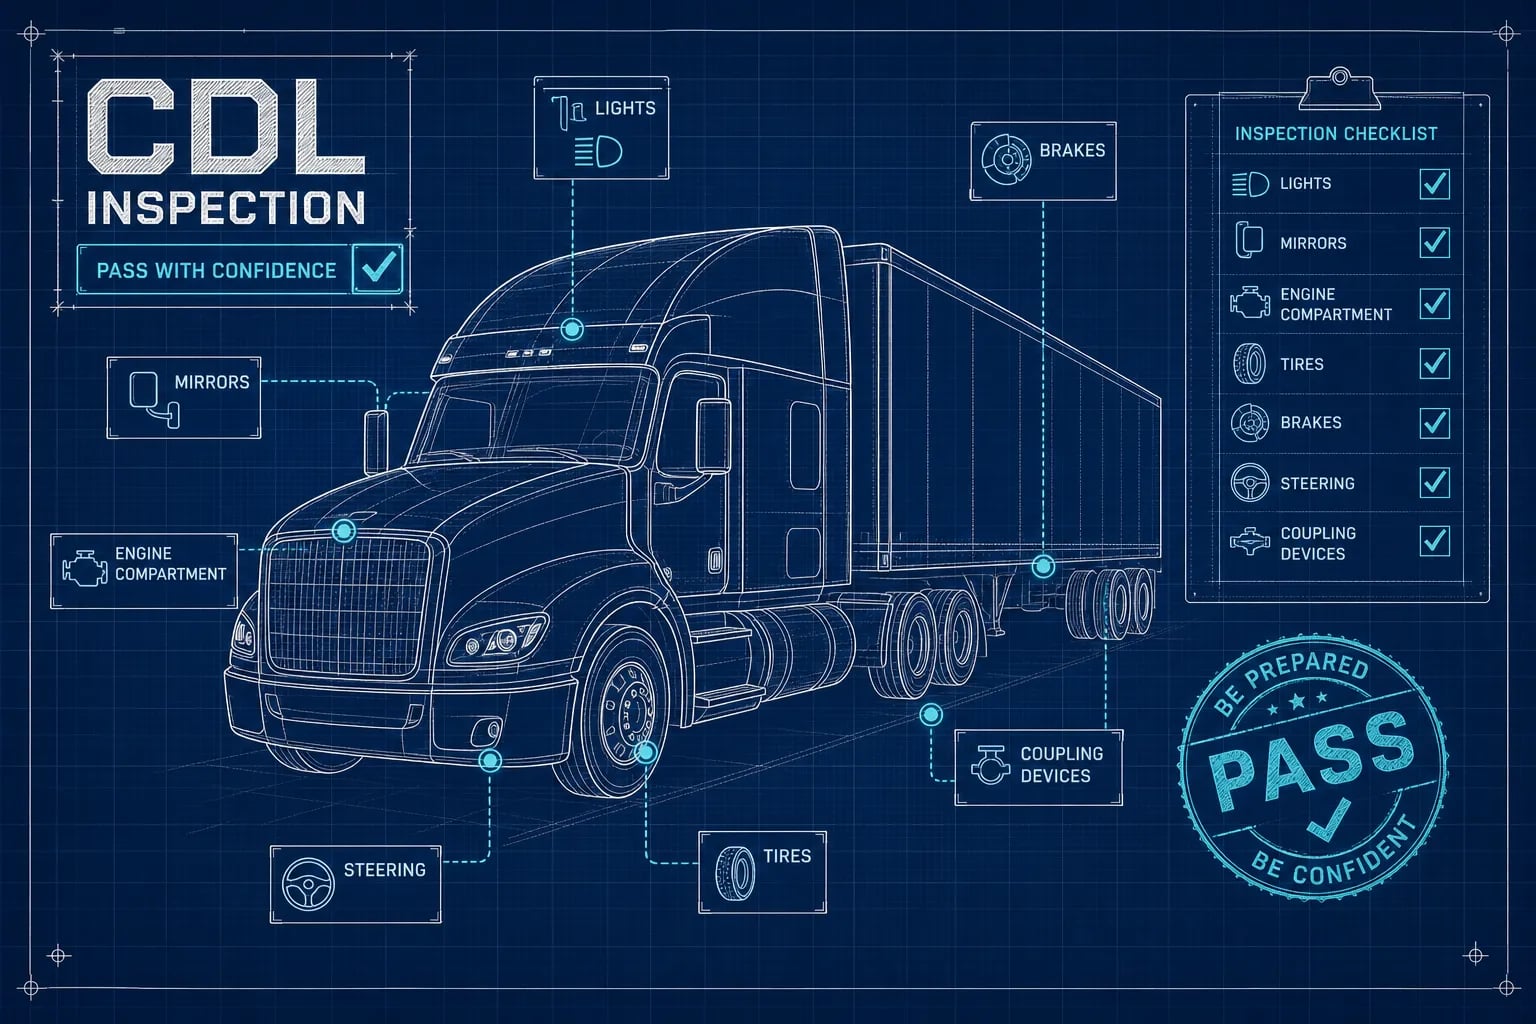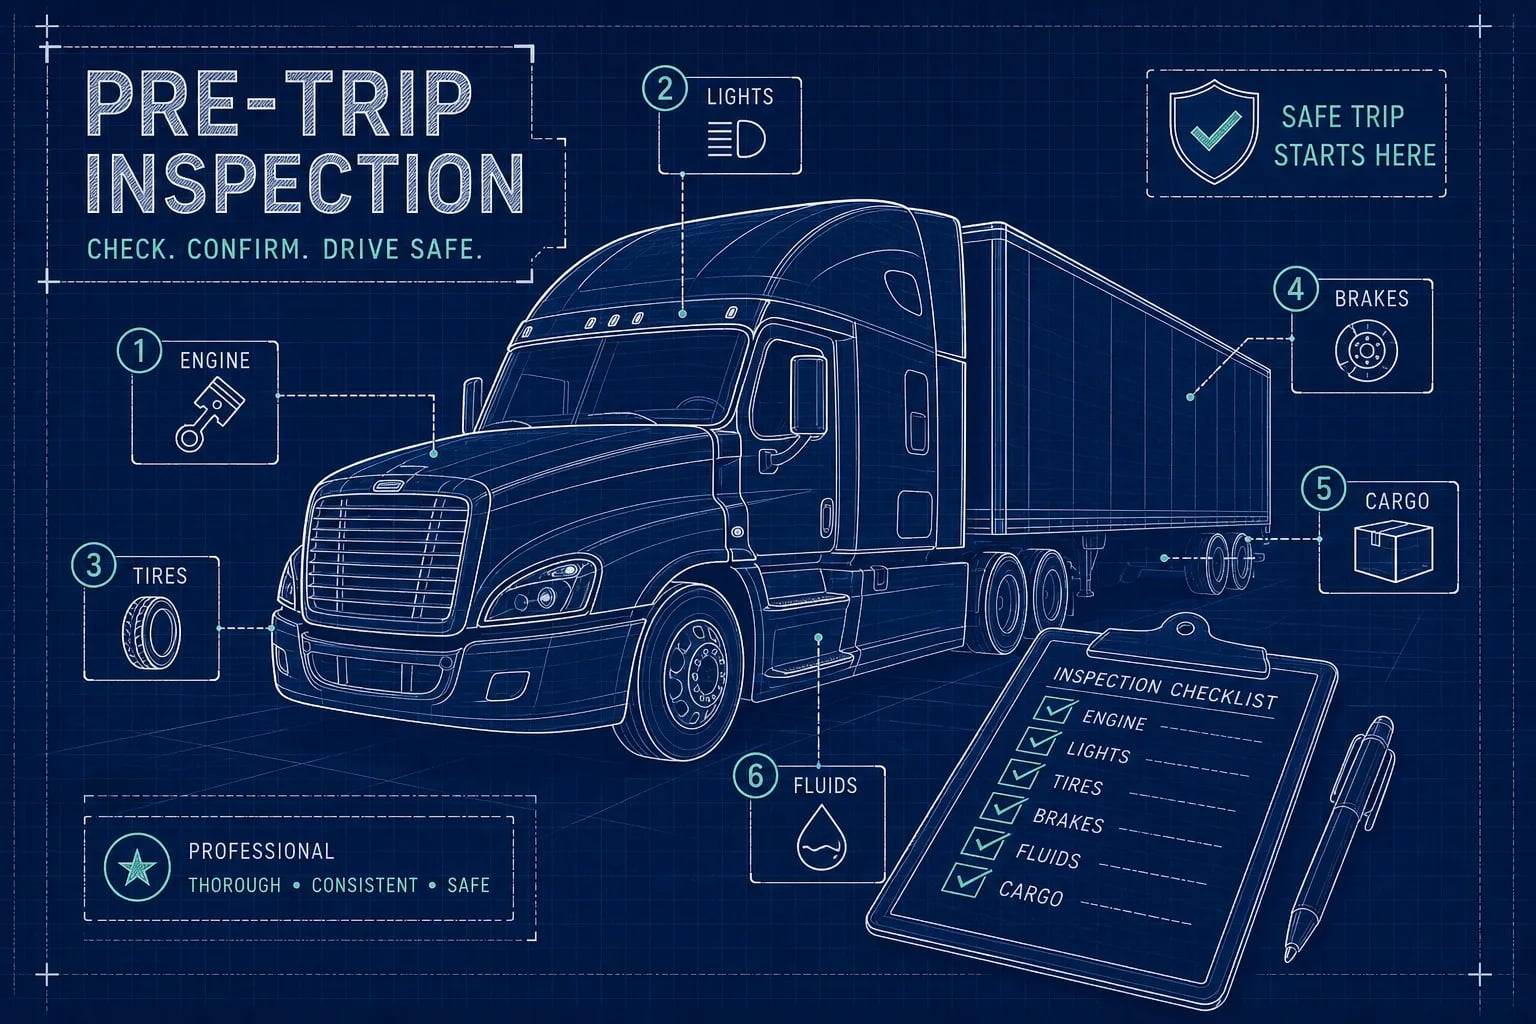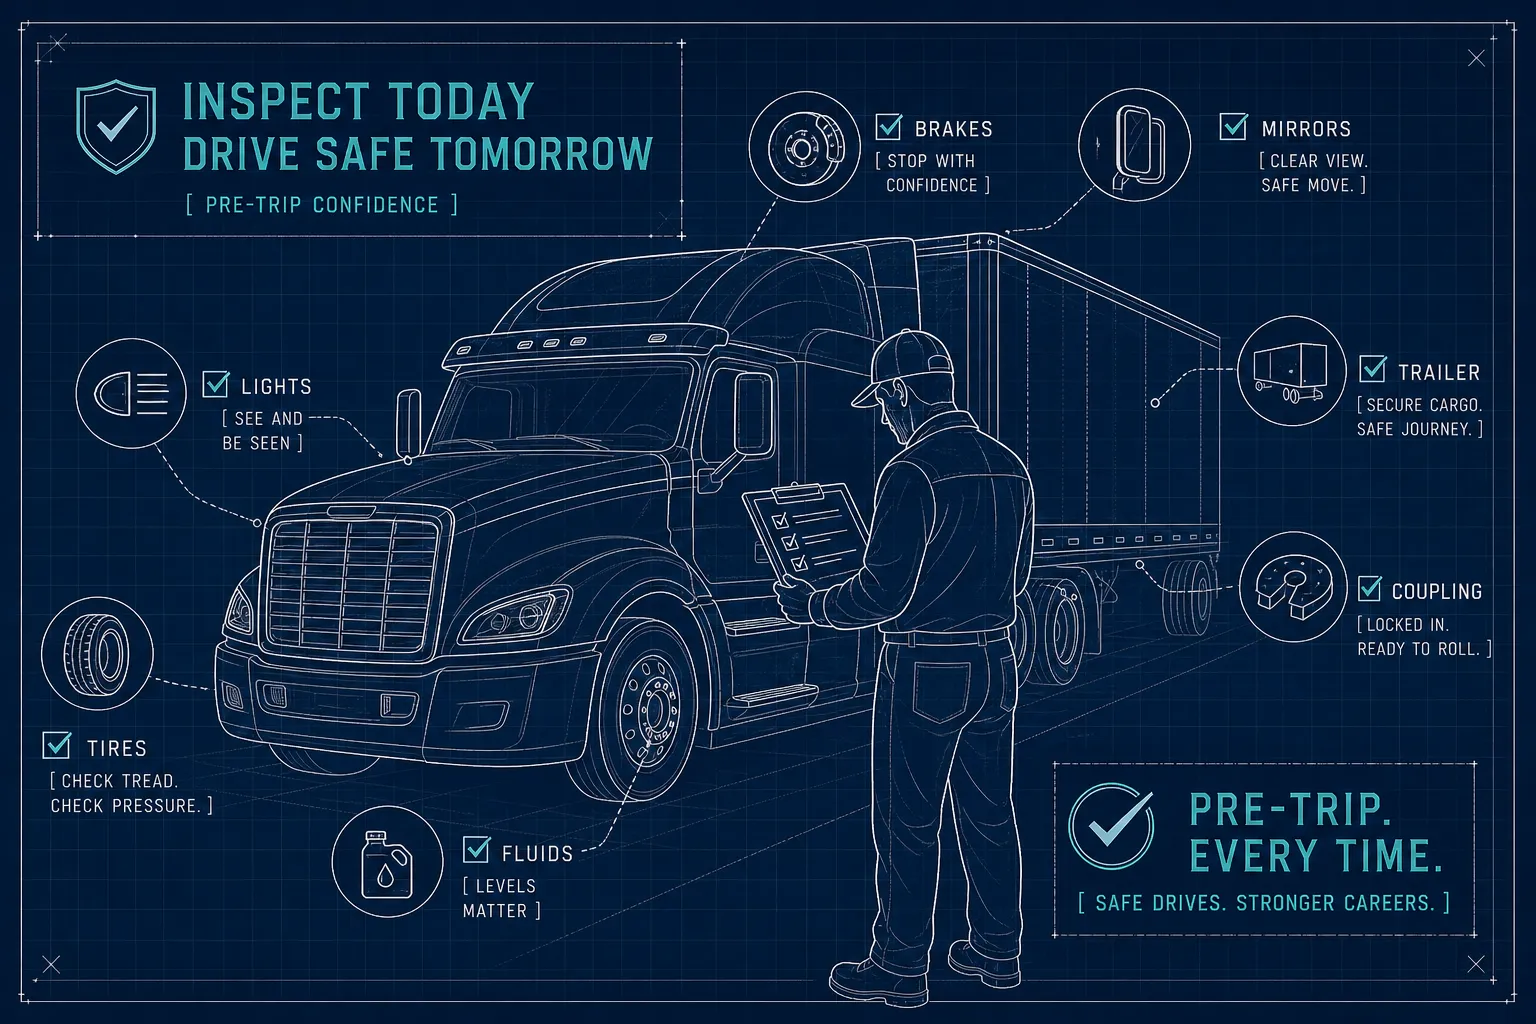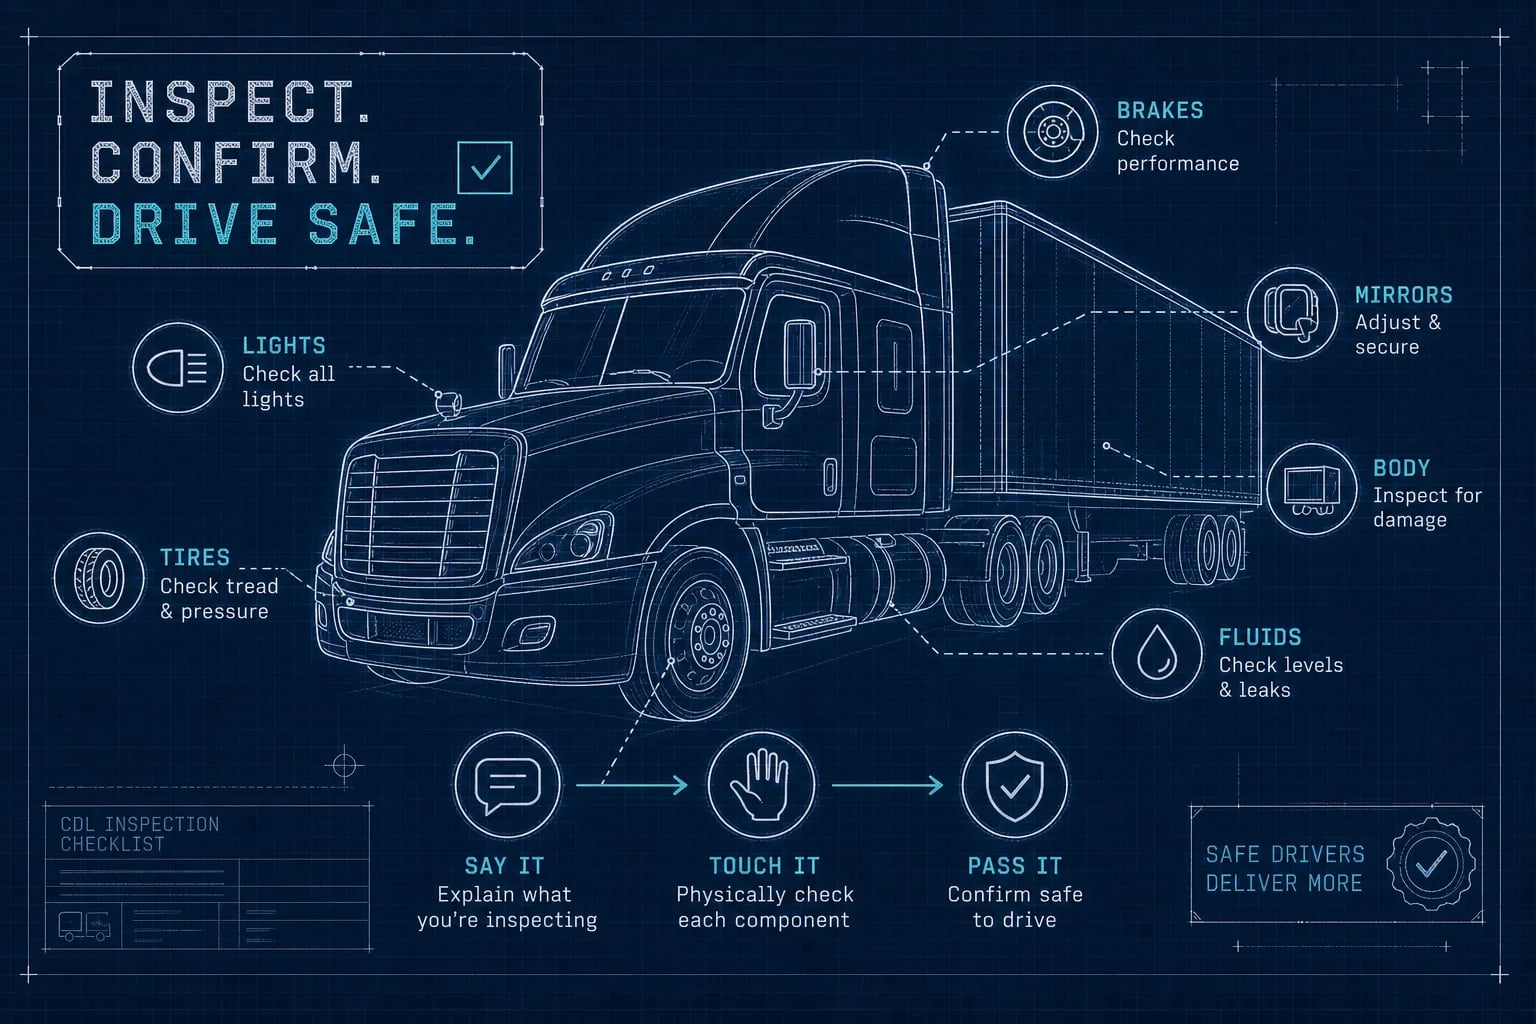
A common reason candidates fail the CDL pre-trip inspection has nothing to do with locating the brake chamber or knowing what a slack adjuster is. They fail because they pointed at a component and said "that looks fine" instead of giving the examiner a specific, condition-based statement. The CDL vehicle inspection is a verbal skills test as much as a physical one, and that distinction catches many candidates off guard.
This guide walks through every inspection zone in the correct order, with the specific language examiners expect to hear at each stop. You'll also find the most common fail items, the air brake sequence most people get wrong, and a practical drilling method that builds the muscle memory you need to say the right words while an examiner is watching. Many CDL study apps focus on recognition-style questions rather than prompted verbal recall. CDLTest360 was built specifically to close that gap, and this article covers both the content and the practice method.
What CDL examiners actually score during a pre-trip inspection
The CDL skills test has three parts: vehicle inspection, basic controls, and road test. The pre-trip inspection is graded independently, and a failure here ends the test before you ever touch the steering wheel. Examiners check that you identify each required component, touch or clearly point to it, and state both what you are checking and what a defective condition would look like. Saying the name of a part without describing its required condition earns no credit.
The modernized AAMVA CDL vehicle inspection format, which states have been adopting on staggered schedules through 2025 and 2026, consolidates the scored item list from over 100 potential safety violations down to approximately 90. The format also allows candidates to use a standardized checklist during the inspection, which is a significant change from older versions. The practical issue is that state adoption is not synchronized: some states are running the full modernized format, others still use earlier procedures, and a few offer both options at different testing centers.
The single most important rule is to use the current CDL manual from the specific state where you're testing, not a generic checklist you found online. State manuals specify the exact inspection sequence, required components, allowable point deductions, and air brake procedure values. No national guide, including this one, overrides your state's examiner scoring sheet.
The seven inspection zones and why order matters
A structured zone sequence keeps you organized, prevents backtracking, and signals professionalism to the examiner. The seven-zone approach runs as follows: overview walk-around, engine compartment, cab and in-cab controls, driver-side exterior, coupling and under-vehicle, trailer and rear, and passenger-side exterior. Examiners notice when candidates wander between zones or repeat areas they already covered, and disorganization increases the chance of omitting a required item.
The sequence connects physically in a logical loop. You start with a brief visual overview from outside the vehicle, move to the engine compartment, climb into the cab, then work around the exterior in a consistent direction. Some states require a full inspection on both the driver and passenger sides; others accept a single walk-around where you note both sides simultaneously. Your state manual will specify which format is required, so confirm that detail before test day.
One practical timing move: start the engine early in the inspection, when the examiner permits it. Starting the engine allows air pressure to build in the system while you continue the exterior walk. By the time you've completed the driver-side exterior and coupling checks, the system has had time to reach governor cutout, and you can run the air brake tests without waiting idle. That single habit can save several minutes on a test, state manuals typically describe an allowance in the 30 to 45 minute range, though actual time will vary by testing center and vehicle configuration.
CDL vehicle inspection: engine compartment checks
Every engine compartment item follows the same verbal formula: identify the component, state what you are checking for, and confirm the condition you observe. That inspection template is what earns credit. "I'm checking the engine oil level. It is between the add and full marks, at a safe operating level, with no leaks." That statement names the component, establishes the inspection standard, and confirms the finding. Apply the same formula to every fluid, belt, and hose under the hood.
Fluids
Here are the verbal patterns for the core fluid checks:
-
Engine oil: "The engine oil level is between the add and full marks, at a safe operating level, with no leaks."
-
Coolant: "The coolant level is at the proper level, and there are no leaks or damaged hoses."
-
Power-steering fluid: "The fluid is at the proper level, and the hoses and connections are secure with no leaks."
Belts and steering
-
Belts: "The belts are properly tensioned and show no excessive wear, fraying, cracking, or glazing."
-
Steering box and linkage: "The steering box is securely mounted with no cracks or leaks. The steering linkage is secure, with no excessive play, bends, cracks, or missing hardware."
Suspension, frame, and exhaust
-
Suspension: "The springs, spring hangers, U-bolts, and shocks are secure and show no cracks, breaks, shifting, or leaks."
-
Frame: "The frame and cross-members are straight and secure, with no cracks, bends, holes, or illegal repairs."
-
Alternator: "The alternator is securely mounted, and the belt and wiring are in good condition."
-
Exhaust: "The exhaust system is securely mounted, with no holes, leaks, or contact with fuel, brake, or electrical components."
The alternator, water pump, and exhaust system are items candidates commonly rush through or skip entirely. Examiners who catch a skipped component can deduct points even if every other item in the zone is correctly described. Short statements cover the required condition language, don't skip them under time pressure.
Cab and pre-engine-start checks: what to announce and why
The in-cab inspection begins before the engine starts. Work through the seat belt, mirrors, windshield, wipers, and emergency equipment first, then restart the verbal checklist after the engine is running. The seat belt statement needs to cover four conditions: "The seat belt is properly mounted, latches securely, adjusts properly, and is not cut, frayed, or damaged." One sentence covers all four points the examiner is listening for.
Emergency equipment is an area where candidates consistently undersell their answer. Saying "the fire extinguisher is here" earns nothing. The correct statement is: "The fire extinguisher is present, charged, secured, and accessible. Three reflective triangles are present. Spare fuses are present." Each item in that list represents a separate check, and the examiner tracks each one.
After starting the engine, run through the gauge and warning system sequence out loud. "The oil-pressure gauge rises to the normal range. The air-pressure gauges are building normally. Warning lights and buzzers are operating properly and extinguishing as expected." Then confirm the horn: "The city horn and air horn operate properly." Then the heater and defroster. These checks take less than a minute, but candidates who perform them silently or skip them under pressure lose points that are easy to keep.
CDL vehicle inspection: the air brake sequence most candidates get wrong
The air brake check is the single most frequently failed section of the CDL pre-trip inspection. An incomplete air brake check is treated as an automatic failure in many states, including Georgia, which explicitly lists it as an immediate test-ender. Every step in the sequence must be performed in order, and each result must be verbally announced to the examiner.
The sequence runs as follows. Allow the system to build to governor cutout, then key off. Fan the brakes down to a set pressure, then time the air loss with brakes released to conduct the static leakage test. For a combination vehicle, the allowable loss is 3 PSI per minute with brakes released and 4 PSI per minute with the service brake held. For a single vehicle, those numbers are 2 PSI and 3 PSI respectively. State your finding: "With the brakes released, air loss is within the permitted limit." Then apply the service brake and time the loss again, stating the result.
Continue draining pressure to confirm that the low-air warning activates before the system drops below the required level, typically around 60 PSI. Then drain further to verify that the spring brakes apply automatically within the required range of 20 to 45 PSI. Announce each result as it happens: "The low-air warning has activated. The spring brakes have applied within the required pressure range."
The step that candidates most commonly omit is the service brake effectiveness check at the end. Treat this entire sequence as its own preparation category, separate from the rest of the pre-trip inspection checklist. It needs that level of dedicated attention.
Exterior, coupling, and trailer: zone-by-zone verbal walkthrough
The driver-side exterior covers tires, wheels, lights, fuel tank, frame, steps, and brake components. Touch or clearly point to each item as you speak about it. A distant visual glance is usually insufficient; examiners commonly expect you to point to or touch the item. For tires: "The tire has adequate tread, is properly inflated, and has no cuts, bulges, exposed cord, or serious damage." For lug nuts: "All lug nuts are present and tight, with no rust trails or other evidence of looseness." Rust trails around the lug nut seat indicate movement, and examiners are listening specifically for that phrase.
The coupling system requires its own verbal sequence. Walk through each component in this order: fifth-wheel mounting and platform, locking jaws, kingpin, release arm, safety latch, trailer apron contact, glad hands, air lines, and electrical cord. The locking jaw statement is critical: "The locking jaws are closed around the kingpin, the release arm is secured, and the safety latch is engaged." Then confirm there is no visible gap between the upper and lower fifth-wheel plates. Check your state manual to confirm whether a tug test applies to your test vehicle and configuration, as requirements vary by state.
The trailer walk covers landing gear, frame, suspension, tires, brake chambers, slack adjusters, and all rear items. Landing gear: "The landing gear is fully raised, the crank handle is secured, and there are no missing or damaged parts." Rear lights: "The tail, brake, turn, clearance, and identification lights are clean, the correct color, secure, and working." Close the full inspection with a final statement: "The inspection is complete. All required components are present, secure, properly adjusted, and free of defects." That closing line signals to the examiner that you are finished and confirms your overall finding.
The components most likely to fail you and how to describe them
Tires, brake components, and the coupling system generate the most scored defects on the CDL pre-trip. For tires, you must describe tread adequacy, inflation, and the absence of cuts, bulges, exposed cord, and damage individually. Saying "the tires look good" fails on every one of those points. For brake components, name each element separately: "The brake chamber is securely mounted and undamaged. The pushrod travel is within the required limit. The slack adjuster is properly adjusted. The drum is not cracked, scored, or worn beyond safe limits." Grouping them together as "the brakes are fine" earns no credit.
Many examiners place artificial defects on the vehicle before the test. A missing lug nut, a damaged air hose, a disconnected clearance light, or a loose fastener are common planted items. The only way to catch them is to physically touch or check each component rather than relying on a visual scan from standing position. When you find a defect, name it, describe why it's unsafe, and state the required action: "This air hose shows visible chafing and is at risk of failure. This vehicle should not be operated until the hose is replaced."
The verbal mistakes that cost the most points follow a predictable pattern. Candidates name a part without stating its required condition. They use phrases like "looks good" or "seems fine" instead of "securely mounted, not cracked, not leaking, and no missing hardware." They skip a major system under time pressure. They describe a defect without explaining the safety consequence. The fix for all of these is the same: practice saying complete, condition-based statements until they come out automatically, not constructed word by word while an examiner watches.
How to drill the exact wording before test day
Candidates who study flashcards know what a slack adjuster is. They can pick the correct definition in a multiple-choice question. But they freeze when they're standing next to the vehicle and the examiner says, "show me the slack adjuster and tell me what you're checking." The vehicle inspection for the CDL test is a recall performance under pressure. The brain needs to retrieve condition-based phrases automatically, not build them from scratch under test conditions. That requires a specific type of practice: prompted verbal recall, not passive reading.
CDLTest360's PTI phrase trainer targets exactly this skill gap. The trainer prompts you by component and requires you to recall the exact inspection language for each item, not recognize it in a list. It covers every major zone and vehicle system, mirrors the format of an examiner's question, and is built directly from FMCSA language and state CDL manual content. CDLTest360 drills the pre-trip verbal inspection examples you need to say when you're standing next to the vehicle, not just recognition-level definitions. You can start practicing without creating an account, and the phrase trainer is available alongside timed exam simulations and the missed-question review system that re-drills only what you got wrong.
Build a daily practice structure around two activities. Spend 10 to 15 minutes on the PTI phrase trainer, working zone by zone and focusing on the areas where your recall breaks down. Then run a full timed walk-through on an actual or simulated vehicle, aiming to finish with a few minutes to spare so you have room to correct yourself without rushing. The first several runs will feel slow and choppy. That's normal. Phrase-level retrieval practice is more likely to produce automatic recall than passive reading of the manual, because you're building retrieval pathways rather than recognition pathways. The goal is to walk up to any component, touch it, and have the correct statement ready before you even start speaking.
You know the parts. Now learn to say them.
The CDL vehicle inspection is a winnable test when you know the order, the components, and the exact words. Candidates who fail typically prepared for the knowledge exam but not for the verbal performance. They studied what things are but not how to describe what they're checking and what defective looks like. That gap is fixable, and it closes faster than most people expect once they start using a solid CDL pre-trip checklist and practicing the right way.
Put the most important takeaways from this guide into your preparation right now. Use your state's current CDL manual, not a generic national checklist. Memorize the seven-zone sequence and follow it every time you practice. Drill condition-based statements for every component until they come out automatically.
Treat the air brake test as its own preparation category, because it is the highest-stakes section of the entire inspection. If you haven't already, visit CDLTest360 and run through the PTI phrase trainer today. Reading the script one more time won't build the retrieval you need on test day. Drilling it will.
You know the parts. Now go prove it out loud.
{ "@type": "Article", "datePublished": "2026-10-05T11:02:07.652Z", "dateModified": "2026-10-05T11:02:07.652Z", "headline": "CDL vehicle inspection: what to say, touch, and pass", "description": "Master the CDL vehicle inspection with zone-by-zone steps, exact examiner-approved phrases, and common fail items. Start drilling the right wording today.", "publisher": { "@type": "Organization", "name": "CDLTest360" }, "image": [ ] }