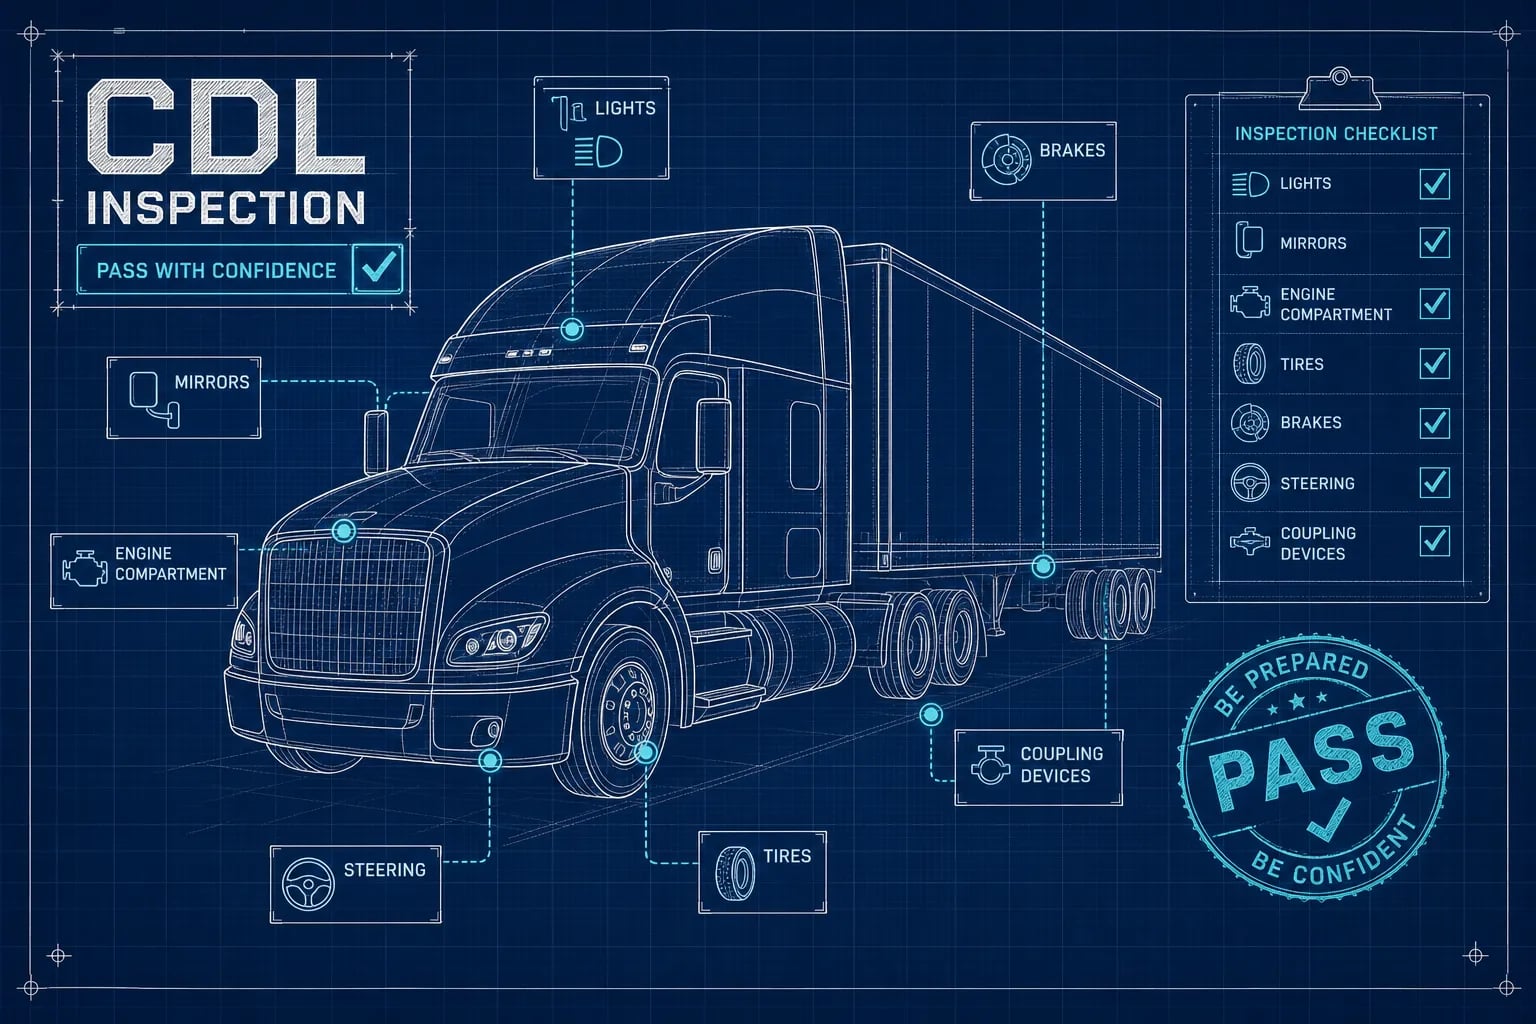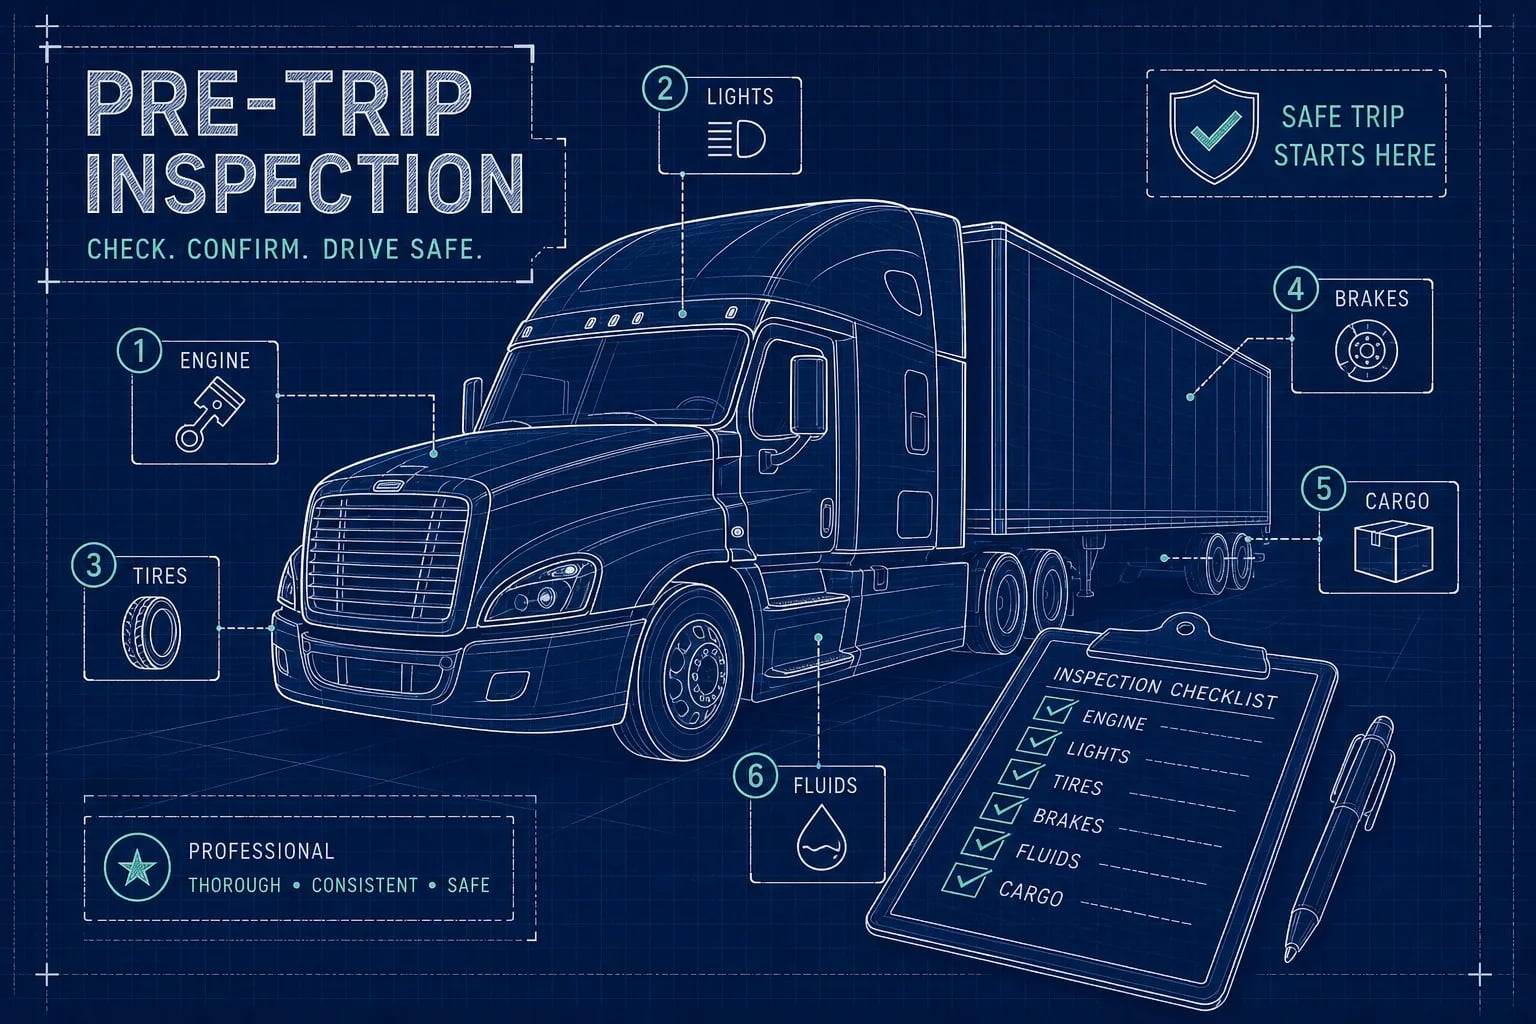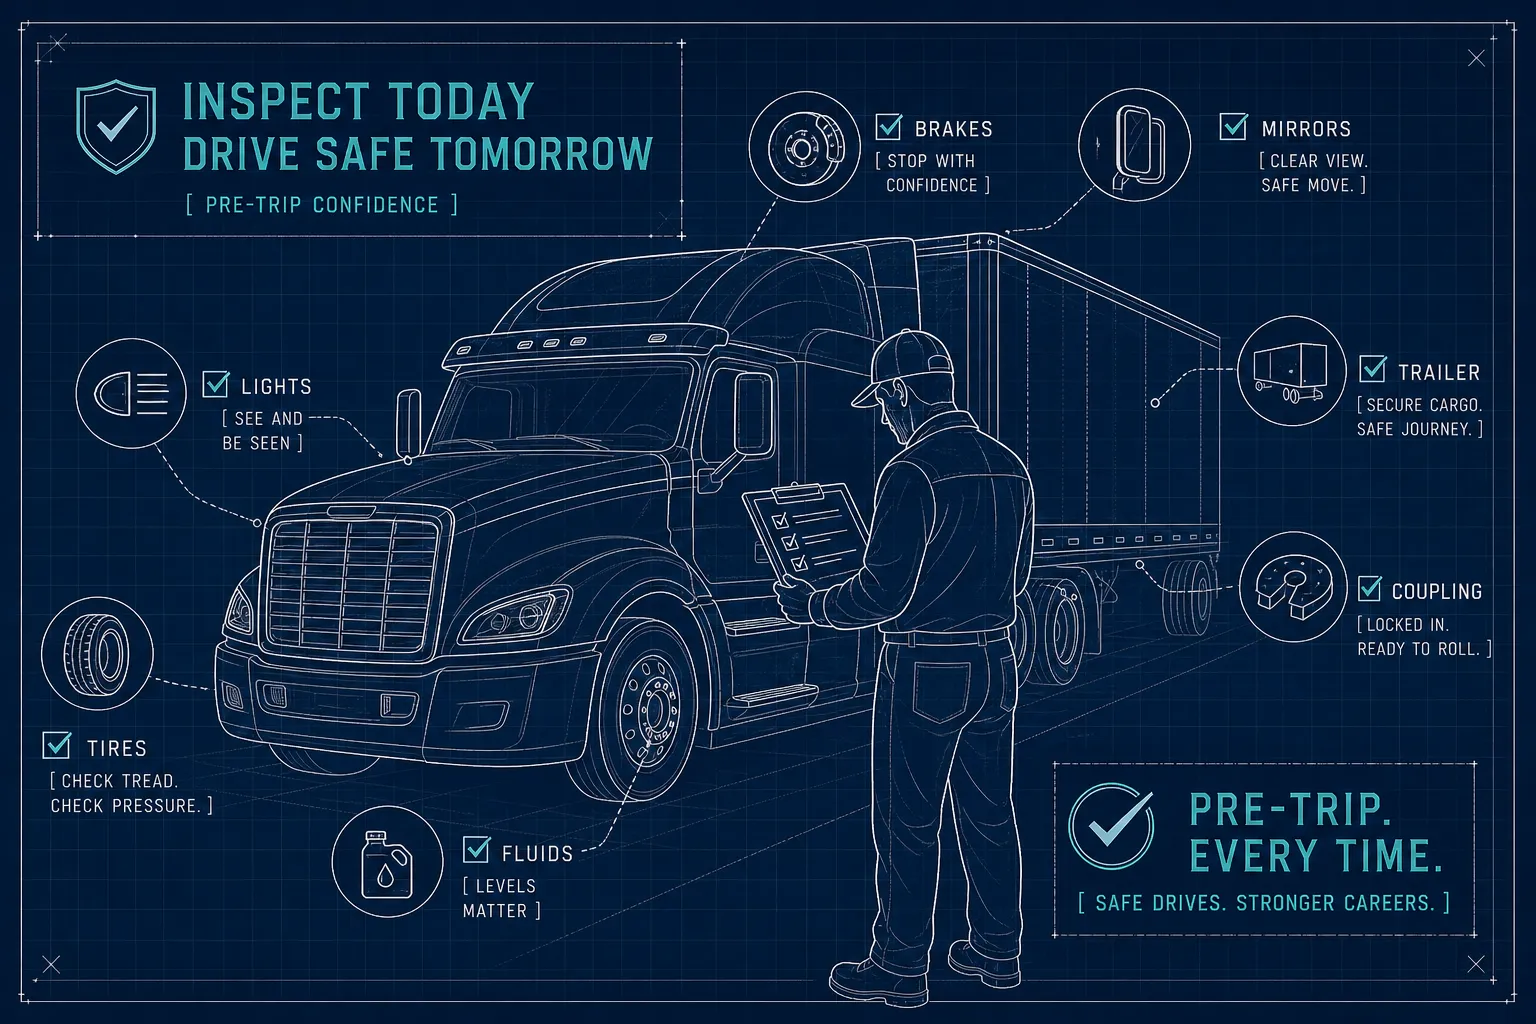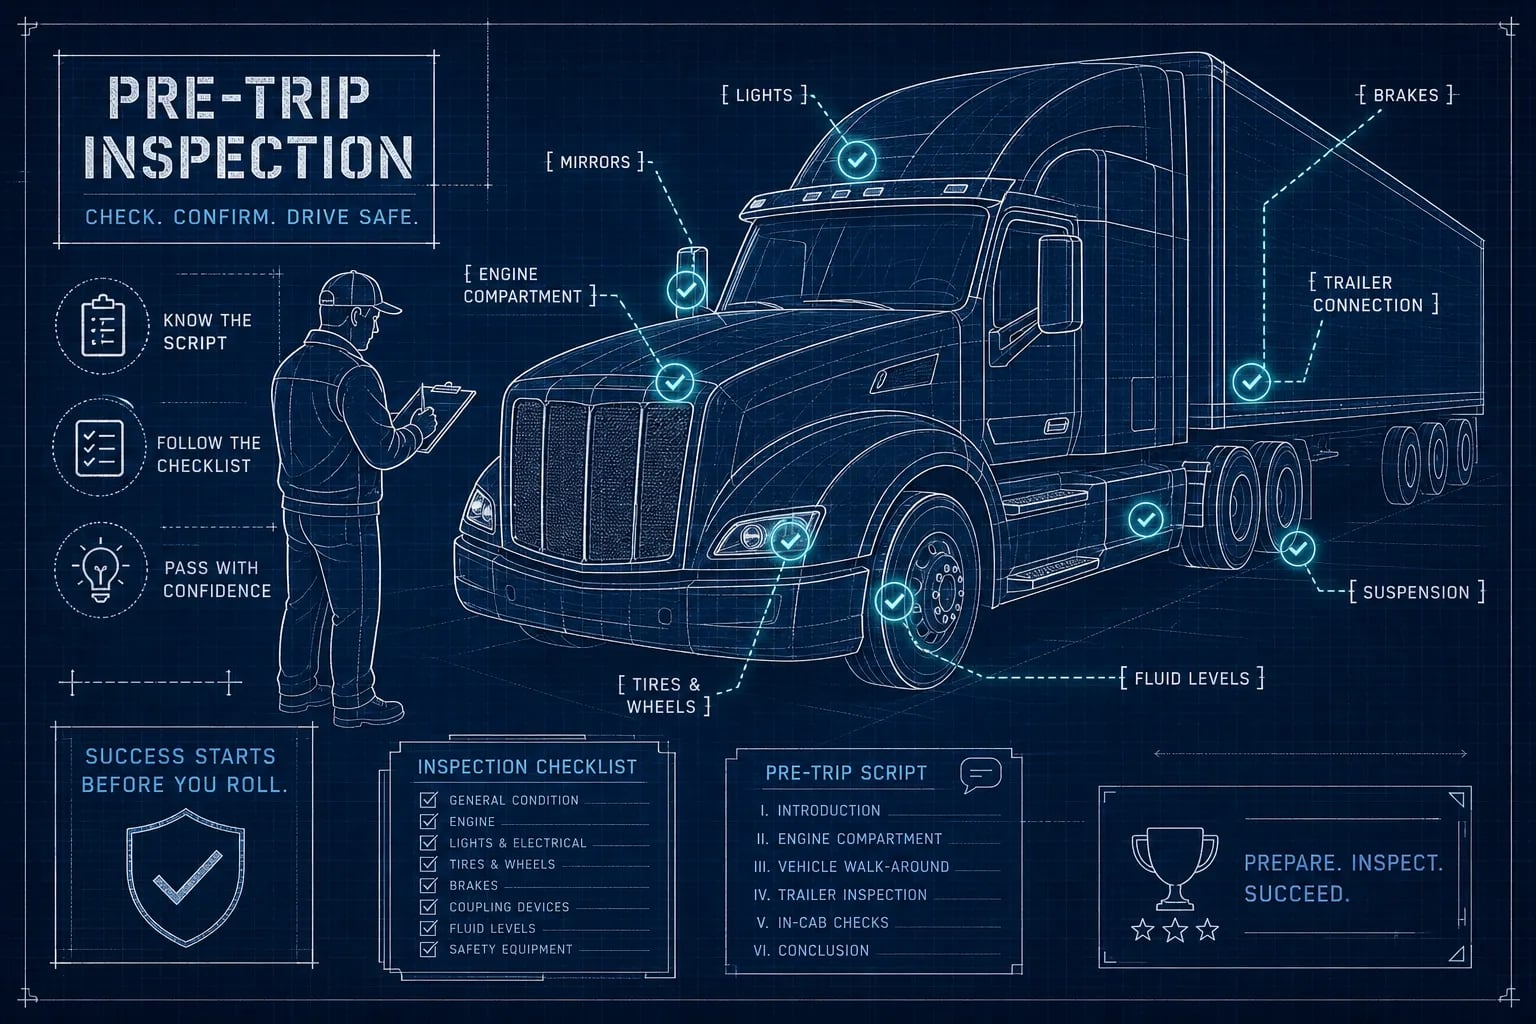
Picture this: a CDL candidate spends six weeks studying general knowledge. They know stopping distances, load securement rules, and railroad crossing procedures cold. Then they show up for the skills test, face the pre trip inspection exam portion, walk to the truck with the examiner, and freeze. Not because they don't know what to check, but because they have no idea what to say or in what order to say it. The examiner is standing there with a clipboard, and the candidate is staring at the engine compartment in silence.
Instructors and examiners commonly report this scenario playing out at CDL testing sites across the country. The pre-trip inspection is frequently cited as the most underestimated section of the CDL skills test, not because the content is impossibly hard, but because it's the only section that demands a memorized verbal performance in real time, in front of an examiner who is actively scoring both what you do and what you say. Many candidates report limited verbal pre-trip practice before test day, and that gap is exactly why CDLTest360 built its PTI phrase trainer: to address the one section that no multiple-choice quiz can fully cover.
By the end of this article, you'll have the full walkaround sequence for a Class A vehicle and the verbal script formula examiners expect at every stop. You'll also get a clear picture of the air brake procedure, the most common failure traps, and how state rules can shift the format. Finally, you'll have a direct path to practicing the exact wording until it becomes automatic before test day.
What the CDL pre-trip inspection exam actually tests
The difference between a safety check and an exam performance
The DOT pre-trip inspection is both a real safety procedure and a scored verbal demonstration. FMCSA requires every driver to inspect their vehicle and confirm it's in safe operating condition before driving, so the content of the inspection is grounded in federal regulation. On the skills test, however, the examiner isn't just watching what you look at, they're scoring what you say about every component at every stop. Staying silent while you check something, or just nodding and moving on, costs you points even when the truck is in perfect condition.
The practical implication is significant: you can perform a physically thorough inspection and still fail because your verbal narration was incomplete. The inspection and the performance are two separate skills, and both have to work together for you to pass.
How examiners score the walkaround
Texas uses a 100-point scoring model with a passing threshold of 80, and its breakdown illustrates how the inspection is typically weighted. According to the Texas CDL guide, engine compartment carries 25 points, cab interior and safety equipment 15 points, front and exterior components 20 points, sides and rear 20 points, under-vehicle checks 10 points, and lights and signals 10 points. Other states use similar structures, and while exact point values vary, the category priorities are broadly consistent. Skipping an area, going vague, or missing the verbal description of an item reduces your score regardless of what the truck actually looks like.
Critical fail items exist separately from point deductions. A failed air brake check, for example, can end the test entirely in some states. Understanding the difference between a scored deduction and a disqualifying failure is essential going in, because they require different responses during preparation.
What the test is not
Here's a misconception worth clearing up immediately: the examiner does not expect you to recite a memorized monologue word-for-word from a script. What they expect is a logical sequence, a named component at each stop, and a stated condition. If you can do those three things consistently, you'll satisfy the scoring criteria. This distinction matters because it removes the pressure of achieving perfection and directs your study energy toward the right target, structured verbal narration, not memorized theater.
The Class A pre trip inspection exam: walkaround sequence step by step
Engine compartment and front of vehicle
In states like Texas, the engine compartment carries more scoring weight than any other single area on the test, and it's also where candidates lose the most ground. You're checking engine oil, coolant, power steering fluid, and windshield washer fluid levels; inspecting belts and hoses for cracks, fraying, or swelling; and checking the air compressor, alternator, battery, and steering components for secure mounting and visible damage. You're also scanning underneath for fluid leaks before you move anywhere else. The density of items in this area is what trips people up: there's a lot to name, and it's all clustered in one place.
Move methodically left to right, or right to left, and call out each item as you go. Don't skip ahead because something looks obviously fine. Physically point to each component while you narrate it. Silence equals a missed item on the scoring sheet, whether or not you actually looked at it.
Cab checks and driver area
In-cab checks cover seat belt, horn, mirrors, wipers and washers, heater and defroster, dashboard gauges and warning lights, and emergency equipment including fire extinguisher, reflective triangles, and spare fuses. Candidates often rush this section because the cab feels familiar and non-threatening. That's a mistake. Missing the safety equipment inventory here is a consistent source of point loss, and it's one of the easiest categories to protect with deliberate practice. Slow down, name each item, and confirm its condition before moving on.
Exterior walk-around: driver side, rear, and passenger side
The exterior walk-around follows a systematic circuit around the vehicle. On the driver side, you're checking the steering axle tires, wheels and rims, lug nuts, springs, brake lines and hoses, lighting, and frame. At the rear, you move through lights, reflectors, door latches, rear tires, and suspension components. The passenger side mirrors the driver side in scope. One behavioral detail matters here more than most candidates realize: physically touching or pointing to each component while you narrate it. Examiners are trained to distinguish between a candidate who is actually inspecting and one who is talking while facing in the general direction of the truck.
Coupling area and trailer inspection
This is the Class A-specific section that separates a combination vehicle inspection from a Class B check. You're covering the fifth wheel, kingpin and locking jaws, release arm, platform and mounting bolts, air and electrical lines, glad hands, safety latch, and landing gear. A visual confirmation that the trailer is properly coupled, combined with a tug test confirmation if required by your state, completes this stop. The coupling area causes more Class A inspection failures than any other exterior stop because it has the most components and receives the least practice time. Most candidates who've studied a pre-trip checklist can list these items; far fewer can walk through them in sequence while narrating the condition of each one.
What to say at each stop: the verbal script formula
The three-part naming pattern
The core formula for every inspection item has three parts: name the component, state what you're checking for, and confirm its condition. Applied to a tire check, it sounds like this: "Checking the left front tire. Looking for proper tread depth, no cuts, bulges, or damage to the sidewall. Tire is in good condition." That's it. The same formula works for every single item on the walkaround, you don't need different sentence structures for different components. Apply this pattern consistently from the first item to the last, and you'll directly satisfy the scoring criteria: the examiner hears a named component, hears the defect criteria, and hears your condition assessment.
Sample phrases by inspection area
Here are working examples across four common inspection areas to show how the formula adapts without changing in structure.
-
Engine oil: "Checking the engine oil level. Dipstick shows oil between the min and max marks. No signs of oil on the ground or visible leaks."
-
Left front tire: "Checking the left front steering axle tire. Looking for proper inflation, no cuts, bulges, or sidewall damage. Tire is in good condition."
-
Headlight: "Checking the left front headlight. Lens is properly mounted, no cracks or damage. Light is functioning."
-
Fifth wheel: "Checking the fifth wheel. Platform is secure, no cracks or damage. Kingpin is locked, locking jaws are fully closed around the kingpin, release arm is in the locked position."
These phrases reflect the language found in FMCSA-aligned content and state CDL manuals, the same source material CDLTest360's PTI phrase trainer draws from when prompting students to recall exact inspection wording by component.
Why pointing and touching matters as much as what you say
Examiners are specifically trained to note whether a candidate physically engages with each component. If you describe the battery condition accurately but keep your hands at your sides and your eyes moving generally over the engine compartment, the examiner may score that as an incomplete inspection even though your verbal description was correct. Pointing at or touching each item as you name it creates a visible, scoreable connection between what you're saying and what you're actually checking. Build this habit into practice runs from day one, not as an afterthought right before test day.
Air brake checks: one of the highest-failure sections on the pre trip inspection exam
The required sequence for air brake testing
The air brake check is a sequential procedure, and the sequence itself is part of what's being scored. These thresholds align with FMCSA guidance and are reflected in most state CDL manuals, though your state's manual is the definitive reference. Build air pressure to governor cut-out, typically in the range of 120 to 140 PSI. Shut off the engine. Release the parking brakes. Apply the service brake fully and hold it for one minute while watching the air gauge. For a combination vehicle, the acceptable pressure drop is no more than 4 PSI per minute; for a single vehicle, no more than 3 PSI. After the static leak check, fan the brake pedal down to verify low-air warning activation, which should occur at or before approximately 60 PSI, then continue until the spring brakes activate, typically around 20 to 45 PSI depending on the system.
Applied-pressure check and governor cut-in/cut-out
After confirming the warning devices and spring brake activation, restart the engine and verify that air pressure rebuilds from approximately 85 PSI to 100 PSI within 45 seconds, and that the governor cuts out again around 120 to 140 PSI. Verbalize these pressure points as you observe them, don't just perform the physical steps in silence. Saying "air pressure is building, now at 100 PSI, governor has cut out" confirms to the examiner that you understand what you're observing and why it matters.
Why the air brake section has one of the highest failure rates
The air brake check requires both memorized sequence knowledge and correct real-time verbalization of pressure readings. A candidate who only studied the written general knowledge test may understand air brake concepts well enough to answer multiple-choice questions correctly. Reading about the low-air warning activation point and narrating it live while watching a gauge are completely different skills. The gap between written knowledge and verbal performance is widest in the air brake section, which is why it consistently produces failures at a higher rate than most other parts of the pre-trip inspection, a pattern widely reported by CDL instructors and reflected in state testing data.
Common failure points and how to avoid them
Vague language and the "looks good" problem
The most common behavioral failure during the pre-trip is the "looks good" response: a candidate points at something and says "looks good" or "that's fine" without naming the part or stating what defect they were checking for. Examiners score based on verbalized criteria, and confidence does not substitute for specificity. Here's what that contrast looks like on the scoring sheet: "Looks good" earns zero points. "Checking the left rear dual tires, looking for proper tread depth, no cuts, bulges, or sidewall damage, tires are in good condition" scores full points for that item. Same truck. Same physical inspection. The only difference is the narration.
Coupling components, under-vehicle checks, and safety equipment
CDL instructors and examiners consistently identify three areas where candidates lose points. On Class A inspections, the coupling system is often covered incompletely, candidates name the fifth wheel but skip the glad hands, air lines, or landing gear. Under-vehicle checks, specifically looking for fluid leaks, frame damage, and hanging parts, get skipped when candidates are moving fast and have lost track of their sequence. And safety equipment, the fire extinguisher, reflective triangles, and spare fuses, is easy to overlook because it feels administrative rather than mechanical. It shows up on the scoring sheet in virtually every state, and candidates who didn't practice the cab section deliberately miss it regularly.
Rushing the inspection and running out of time
A full pre-trip inspection during the skills test typically runs 30 to 45 minutes, based on standard state CDL guidance. Candidates who haven't practiced the complete walkaround as a timed run often start fast, lose their sequence mid-inspection, and either rush through the back half or run out of time before completing it. Studying a pre-trip checklist and doing a full timed run are not equivalent preparation. The checklist tells you what to say; the timed run trains you to say it in sequence, at pace, without losing your place. Both are necessary, and most candidates only do one.
How state rules can change what the examiner expects
Texas: explicit point scoring and verbal narration requirements
Texas is one of the states with the most clearly documented pre-trip scoring structure. The Texas CDL guide uses a 100-point model with a passing threshold of 80, and the examination format explicitly requires verbal narration with pointing and touching at each stop. The inspection breaks into scored sections: engine compartment, cab area, truck exterior, coupling area, trailer area, and air brakes test. Each section carries weighted points, so knowing which areas carry the most scoring weight helps you prioritize practice time. The engine compartment, at 25 points, deserves the most rehearsal. The air brake section, because of its failure rate, deserves the most focused sequential drilling.
California and New York: format variations by vehicle class
California and New York follow the same federal safety inspection logic that FMCSA establishes, but the specific format and checklist emphasis can shift based on the vehicle class and endorsement type being tested. The exact components on the scoring sheet depend on the vehicle you bring to the test. A Class A candidate in California testing with a different trailer configuration than expected may encounter a slightly different set of coupling components being evaluated. Candidates in these states benefit from verifying the specific vehicle class and configuration they'll be tested on, then aligning their pre-trip practice to that exact setup.
How to find the state-specific checklist you actually need
The federal FMCSA requirements form the floor of what's tested in every state. Your state CDL manual packages the test differently, sometimes in scoring format, sometimes in section emphasis, sometimes in the sequence the examiner follows. Pull the CDL manual for your state from your DMV website, or access it directly inside CDLTest360's in-app state manual library, which includes manuals for all 50 states. Knowing both the federal standard and your state's specific format closes the preparation gap completely. Don't assume that studying a generic pre-trip checklist covers what your examiner will actually score.
How to drill the exact inspection wording before test day
Why reading a checklist is not enough
There's a meaningful difference between knowing that you need to check the kingpin and being able to say "the kingpin and locking jaws appear to be in proper position, no damage or wear visible" without hesitation while standing next to the truck with an examiner watching. Reading a checklist gives you the content. The pre trip inspection exam is a performance, and performances require repetition under simulated conditions, not passive reading. A candidate who has read the inspection checklist twenty times and practiced the verbal narration zero times is not prepared for the skills test. The output you're being tested on is spoken language, and that requires spoken practice.
How CDLTest360's PTI phrase trainer works
CDLTest360 built the PTI phrase trainer specifically because the pre-trip verbal component was consistently undertrained, leaving candidates who understood the concepts unable to produce the language on demand. The phrase trainer prompts you to recall the exact inspection wording for each vehicle component, one stop at a time, building the verbal muscle memory that the Class A pretrip exam requires. If you blank on the wording for a specific component, that component comes back in rotation until you get it right, the same missed-question loop logic applied to verbal performance instead of multiple-choice answers.
The phrase trainer works on mobile, which matters for candidates studying in short windows between work shifts or family responsibilities. Ten focused minutes on coupling area phrases between shifts adds up faster than you'd expect. CDLTest360 also offers flexible access options; check the CDLTest360 website for current pricing and trial details so you're working from the most up-to-date information.
Practice questions that mirror real examiner expectations
CDLTest360's pre-trip practice test questions are built from FMCSA-aligned content and state CDL manuals, which means the language in the questions reflects the same phrasing you'll need to produce during the skills test. The exam simulation mode runs timed questions at a standard passing threshold, conditioning you for the pressure of test day rather than just building familiarity with the content. A free trial option lets you start practicing immediately. Start the free trial at CDLTest360 and run your first pre-trip phrase drill today.
Frequently asked questions about the pre trip inspection exam
How long does the pre trip inspection exam take?
A full pre-trip inspection during the CDL skills test typically runs 30 to 45 minutes, though timing varies by state and vehicle configuration. Candidates who haven't completed timed practice runs are most vulnerable to rushing the back half of the inspection or losing their sequence under pressure. Build timed runs into your preparation well before test day.
What automatically fails the pre-trip inspection?
Critical fail items vary by state but commonly include a failed air brake check, missing or non-functional safety equipment, and any defect that would place the vehicle out of service under federal regulations. A scoring deduction and a disqualifying failure are two different things, know which items in your state carry automatic fail risk so you can prioritize them in practice.
Can I use a pre-trip checklist during the exam?
No. The skills test requires you to perform the walkaround from memory, narrating each component and its condition without referring to notes or a checklist. This is why pre-trip practice test drills that build verbal muscle memory matter more than simply reviewing a written list.
The candidate who froze doesn't have to be you
The candidate in the opening scenario wasn't underprepared on the knowledge. They just hadn't practiced the performance. The walkaround sequence, the three-part verbal formula, the air brake procedure, the coupling system components, all of it is learnable. The CDL pre-trip inspection exam has a high failure rate not because the content is impossible, but because most candidates study what to inspect without ever practicing how to say it under pressure.
The training gap to close is verbal. Timed practice runs of the full walkaround sequence, combined with component-by-component phrase drills, are what separate candidates who freeze from candidates who move through the inspection with confidence. That preparation is available right now through CDLTest360's PTI phrase trainer and exam simulation mode. Start the free trial and run your first drill today, walking into the skills test knowing exactly what to say at every stop feels completely different from hoping you'll remember. One of those candidates passes on the first attempt. Be that candidate.
{ "@type": "Article", "datePublished": "2026-09-07T11:01:41.943Z", "dateModified": "2026-09-07T11:01:41.943Z", "headline": "CDL Pre-Trip Inspection Exam: Script, Checklist & Tips", "description": "Master your pre-trip inspection exam with the exact walkaround sequence, verbal script examiners want, common fail points, and CDLTest360's PTI phrase trainer.", "publisher": { "@type": "Organization", "name": "CDLTest360" }, "image": [ ] }