Most CDL candidates spend days memorizing the vehicle inspection list and walk into their skills test confident they know every component under that hood. Then the examiner hands them a score sheet, and things fall apart. Not because they don't know the systems, but because they can't say the right words in the right order while simultaneously performing the check. The CDL pre-trip inspection is not a visual checklist you run through silently. It is a scored verbal performance, and the examiner is listening just as closely as they're watching.
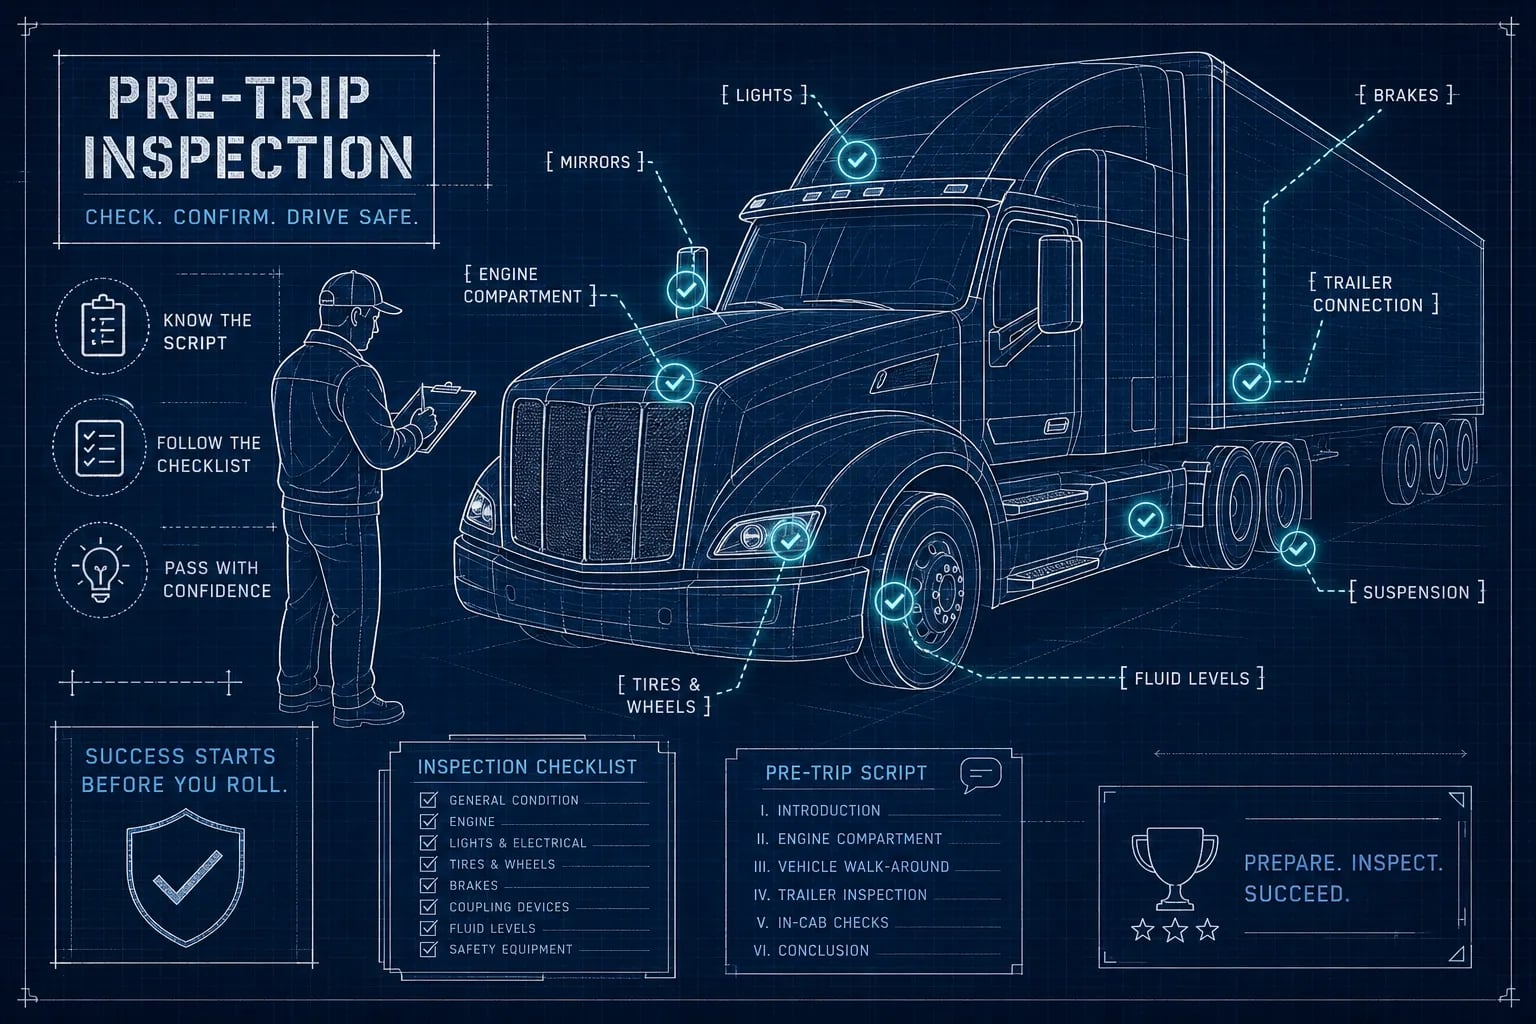
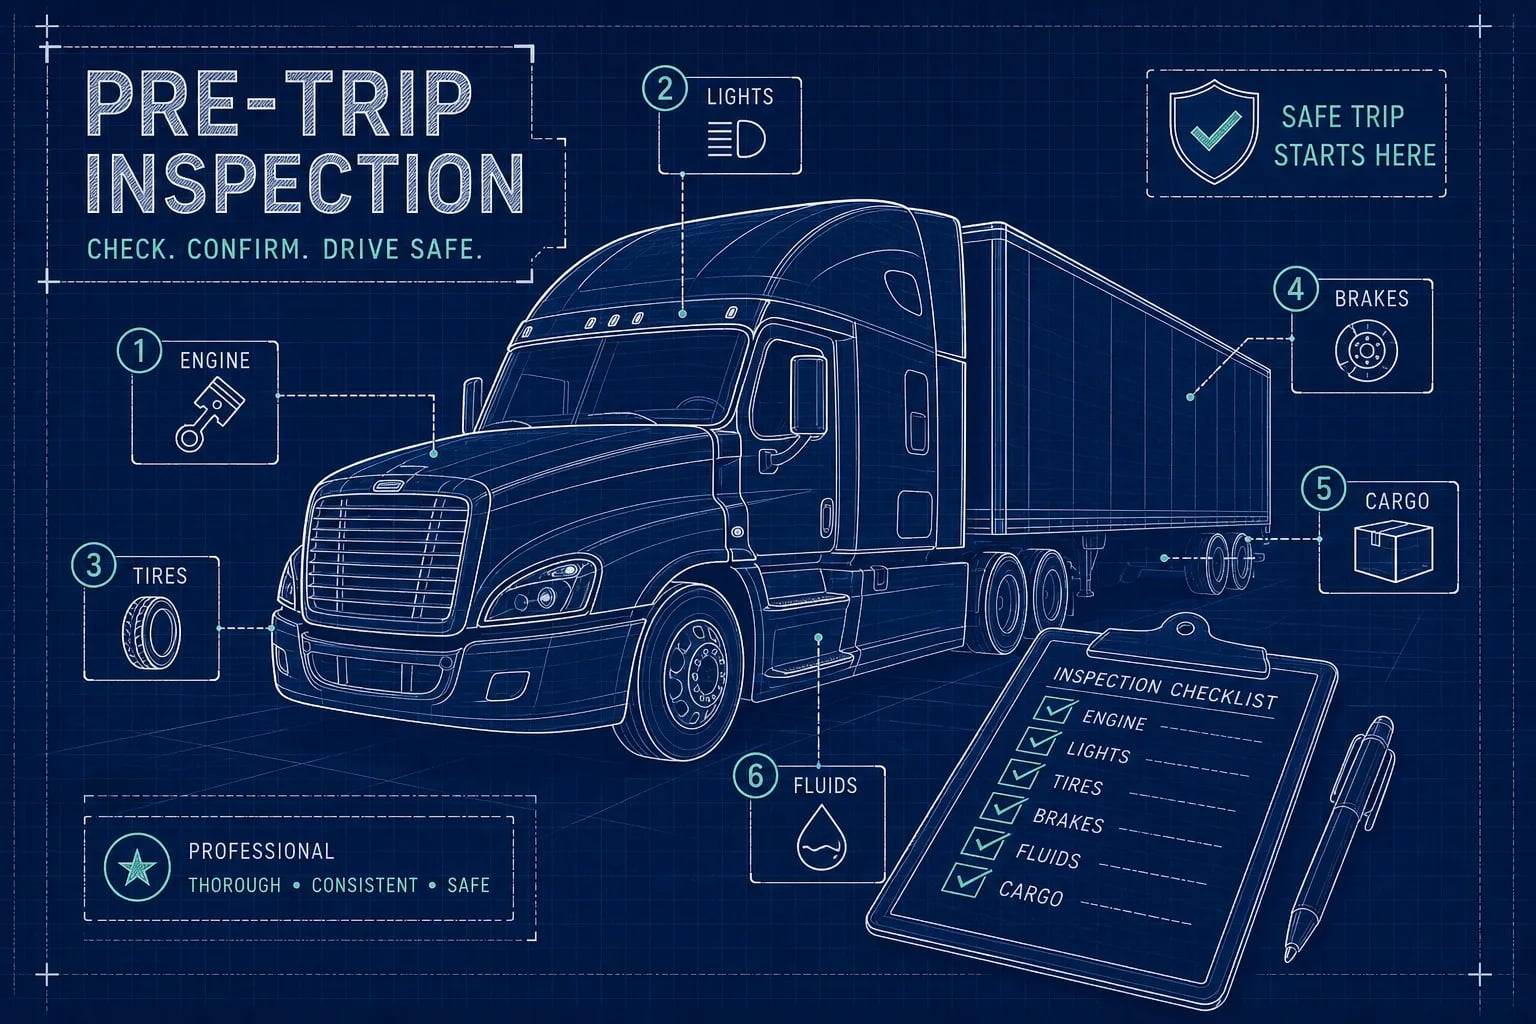
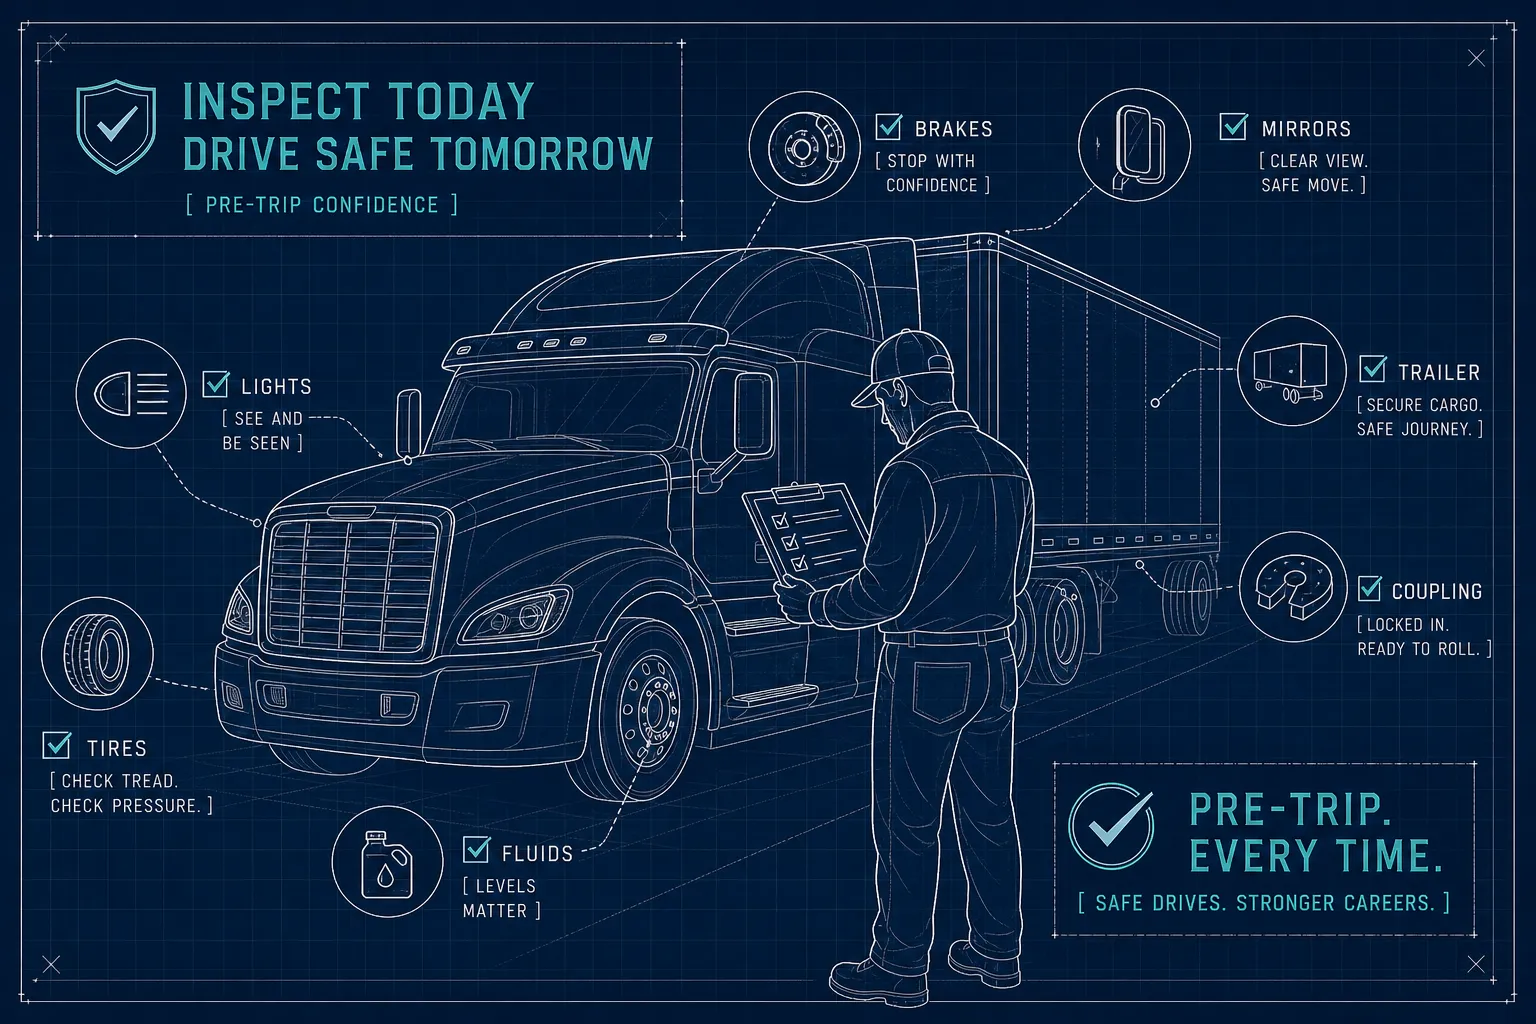
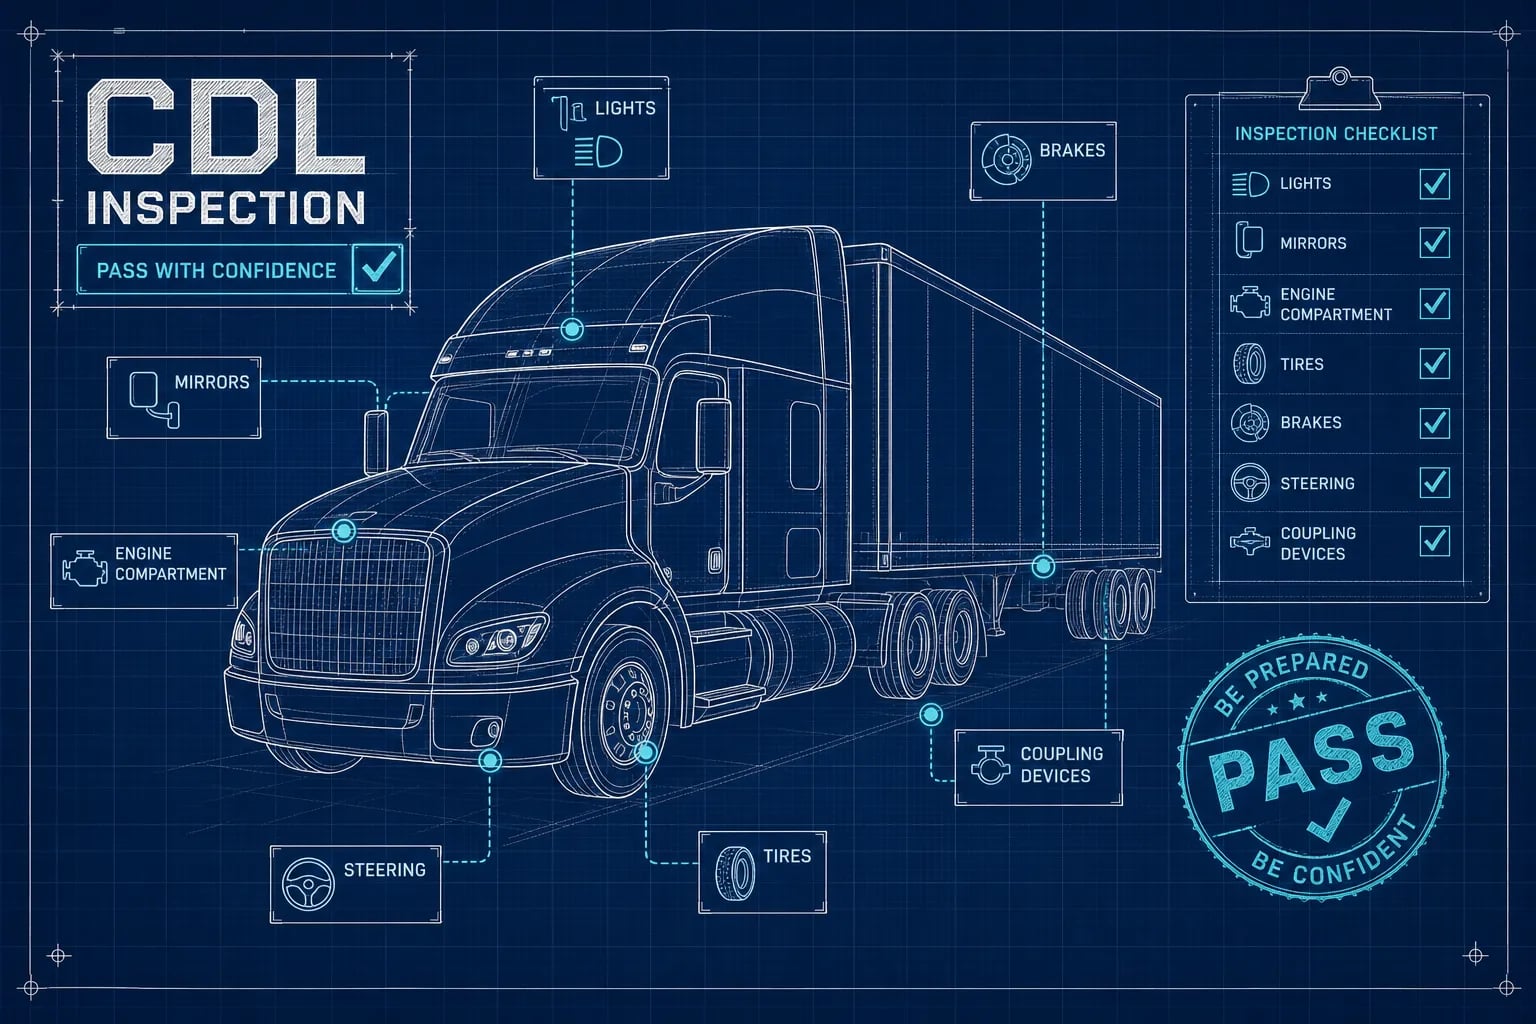
The pre-trip inspection (PTI) covers five main systems: the engine compartment, lights and reflectors, tires and suspension, brakes, and coupling devices for combination vehicles. Each system has its own sequence, and each component within that sequence requires the candidate to name the item, state what they're checking for, and confirm the condition using FMCSA-recognized terminology. Many trainers recommend pairing a written vehicle inspection checklist with active verbal drilling, some candidates find phrase trainers like the one at CDLTest360 particularly useful for that second step. By the end of this article, you'll have the component-by-component breakdown and know exactly what to say at each stop.
Why knowing the inspection steps isn't enough to pass
What the examiner is actually scoring
The PTI portion of the CDL skills test runs on two tracks simultaneously. The examiner watches whether you physically check the right items and listens for whether you name each component and describe its condition using recognizable inspection terminology. A candidate who opens the hood, silently looks at the oil dipstick, and says "looks good" will lose points, even if the oil level is perfect. Examiners follow a rubric and credit only the items a candidate correctly identifies and describes. Missing the verbal component for any item is the same as skipping the check entirely: no credit.
The difference between a checklist and a verbal script
A printed vehicle safety inspection list tells you where to look. A verbal script tells you what to say while you're looking. These are two different skills, and the CDL exam demands both at the same time. Candidates who prepare only with written lists frequently freeze mid-inspection because they've never drilled the spoken sequence under any kind of time pressure. Many trainers recommend active verbal practice specifically because examiners expect verbal identification at every step, reading the DOT vehicle inspection checklist alone won't build that muscle. Practice saying the words out loud, in sequence, until the sequence becomes automatic.
Engine compartment vehicle inspection list: what to check and how to say it
Fluids, belts, and hoses: the exact terms examiners listen for
The engine compartment covers seven fluid checks: engine oil, coolant, power steering fluid, windshield washer fluid, battery fluid (where applicable), brake fluid, and transmission fluid. For every single one, the examiner expects the same three-part structure: name the item, state what you're checking for, and confirm the condition. A clean example sounds like this: "Checking engine oil, no leaks, oil level is within safe operating range, no signs of contamination." That's it. Short, specific, complete.
Belts and hoses follow the same pattern. Start with the belt type before moving into the details, for the alternator belt, power steering belt, and water pump belt, you're checking for proper tension, no cracking, and no fraying. Say it that way: "Alternator belt is properly mounted and secure, no cracks or fraying, proper tension." For hoses, the FMCSA-aligned phrasing covers condition at both ends: "Upper radiator hose is properly mounted and secure at both ends, no abrasions, bulges, or cuts, not leaking." The phrase "no abrasions, bulges, or cuts" is the standard rubber-component language examiners recognize, and you should use it every time you touch a hose or rubber seal.
Engine mounts, air compressor, and leak checks
Beyond fluids and belts, the engine compartment inspection includes the engine mounts (checking for cracks and secure attachment) and, on air brake vehicles, the air compressor for secure mounting and absence of leaks. The closing step for the entire compartment is a ground check: confirm there are no fluid drips or puddles beneath the vehicle. Examiners expect every one of these checks to be verbalized. Silently staring at the ground and moving on earns no credit for the ground leak check, even if the pavement is clean and dry.
Lights and reflectors: the walk-around verbal sequence
Front lighting checks and the correct calling pattern
The front lighting inspection covers headlights on both low and high beam, left and right turn signals, four-way hazard flashers, clearance lights, and marker lights. A trainer-recommended calling pattern has you announce each light by name, state its location, activate it if applicable, and confirm its condition. The accepted phrasing sounds like this: "Left front turn signal, amber, clean, operating properly." Keep it consistent. Every light gets the same treatment: name, color or position, condition. When a helper is required to confirm rear or brake lights, use a clear call-and-confirm pattern so the examiner can follow the sequence.
Rear and side lights, reflectors, and conspicuity tape
The rear lighting sequence includes brake lights, reverse lights, tail lights, marker lights, and reflectors. Examiners commonly expect more specific descriptions, for example, color and position, rather than simply noting each item is "present." On combination vehicles, conspicuity tape on the trailer must also be called out and its condition confirmed. This section is one of the most common point-loss areas on the vehicle inspection list because candidates rush it or skip reflector calls entirely after spending their energy on the engine compartment. Slow down, name every item, and confirm every condition before moving to the next stop.
Tires, wheels, and suspension: the measurable language that matters
Tire condition terminology and tread depth language
Tires have federally defined minimums under FMCSA standards: 4/32 inch on steering axle tires and 2/32 inch on all other tires, measured in every major groove. When you inspect each tire, your verbal script needs to reference both the measurable standard and the visual condition. The accepted phrasing is: "Left front steer tire, tread depth adequate, no cuts, bulges, or exposed cords, properly inflated." For sidewall checks, "no cuts, bulges, or exposed cords" is the recognized phrase. Don't improvise here. Stick to the terminology the rubric scores on.
Wheel, hub, and suspension component checks
Wheels and hubs require you to confirm that lug nuts are present, not loose or missing, and that hub seals show no signs of leaking. The suspension system adds several more named components: leaf springs, spring hangers, U-bolts, shock absorbers, and torque arms. Each one gets the standard treatment: name the component, state what failure condition you're looking for, confirm the condition. "Leaf springs are not cracked or broken, properly mounted and secure" covers the basic requirement. The more specific your language, the more clearly you demonstrate you know what each component actually does.
Brakes and coupling devices: the section that sinks combination vehicle candidates
Air brake system inspection phrases
The air brake inspection runs two separate sequences: the in-cab pressure tests and the physical under-vehicle component checks. For the in-cab sequence, build air to the governed cutoff pressure, typically 100 to 125 psi. Shut off the engine, release the parking brake, and hold the foot brake applied for one full minute. The accepted wording for the leak test is: "With the engine off, parking brake released, and foot brake fully applied, I should not lose more than 3 psi in one minute for a single vehicle, or 4 psi in one minute for a combination vehicle." After the leak test, fan the brakes down until the low-air warning activates, which the rubric expects you to confirm activates before pressure drops below 60 psi. Continue fanning until the spring brakes apply automatically, typically somewhere between 20 and 45 psi depending on the vehicle.
For the physical brake components, your verbal checklist covers brake chambers (no leaks, no damage), slack adjusters (checked for proper angle), brake drums or rotors (not cracked, not overheated), and air lines and hoses (no cracks, no chafing). Candidates who omit the required verbal descriptions for air brake checks risk losing credit on each item, often leading to failure of that section, because each individual component on the brake list is scored separately. Silence on any one of them costs credit even if the component itself passes visual inspection.
Fifth wheel, kingpin, air lines, and landing gear
The coupling inspection for combination vehicles is technically the most specific section on the entire CDL vehicle inspection list, and the terminology is not interchangeable. The fifth wheel requires you to confirm it is properly lubricated, not cracked, and securely mounted, with no visible gap between the upper and lower halves. The locking jaws must be confirmed as "fully closed around the kingpin." The release arm is confirmed "in the locked position." For air lines, the blue service line and red emergency line must each be confirmed as "not cut, chafed, spliced, pinched, or leaking," with glad hands properly secured. The landing gear must be confirmed as fully raised with the crank handle secured.
Every phrase in this section is doing a specific job. "No visible gap between the trailer apron and fifth wheel" is the accepted language for confirming a proper coupling. "Locking jaws fully closed around the kingpin" is how you confirm the trailer is locked. Saying "it looks connected" earns zero credit. This section, more than any other, separates candidates who pass from those who schedule a retest.
Locking in your verbal script before test day
Why a written checklist leaves a gap the exam will expose
A printable vehicle inspection checklist gives you the sequence. It does not train your mouth to produce the right words under pressure, in the right order, for 60-plus vehicle components without pausing or backtracking. Reading "check the fifth wheel locking jaws" and saying "locking jaws are fully closed around the kingpin, no visible gap between upper and lower fifth wheel, release arm in the locked position" out loud are completely different cognitive tasks. Most candidates discover that gap on test day, when it shows up as point deductions they didn't see coming.
How the PTI phrase module at CDLTest360 closes that gap
CDLTest360's PTI phrase trainer prompts you component by component and asks you to produce the correct verbal inspection script before revealing the accepted phrasing. That active retrieval process, not passive reading, mirrors the same mental demand the exam places on you during the skills test. You can drill specific sections only, such as the engine compartment or the coupling devices, or run the full inspection sequence from start to finish. Pair the phrase trainer with CDLTest360's knowledge exam modules and you cover both the written test and the skills test prep in one platform, without juggling separate apps, YouTube videos, or printed scripts that don't talk back.
CDLTest360 offers a no-account-required free trial so you can start drilling PTI phrases right now. Check the CDLTest360 website for current plan options and pricing, subscription tiers are available for different study timelines, so you only pay for the time you actually need.
Wrap-up: two tracks, one test, zero surprises
The CDL vehicle inspection list covers five core systems: the engine compartment, lights and reflectors, tires and suspension, brakes, and coupling devices. The exam grades both what you physically check and what you say while checking it. A state inspection checklist or printed reference gets you halfway there. The other half is drilling the verbal script until the phrases come out automatically, in sequence, without hesitation. Use this vehicle inspection list to guide your preparation, and treat every item on it as both a physical check and a spoken statement.
Use the component breakdown in this article as your reference guide for what to check and what to say at each stop, think of it as your own car inspection checklist scaled up to a commercial vehicle. Then open CDLTest360's PTI phrase trainer and start saying it out loud. The candidates who pass their pre-trip inspection on the first attempt are not the ones who read the list the most. They're the ones who practiced saying it, out loud and in sequence, until the words came automatically.
{ "@type": "Article", "datePublished": "2026-08-11T14:18:06.666Z", "dateModified": "2026-08-11T14:18:06.666Z", "headline": "CDL Vehicle Inspection List: What Examiners Test You On", "description": "Nail the CDL vehicle inspection list with exact PTI wording for engine, lights, tires, brakes, and couplings. Practice your script at CDLTest360.", "publisher": { "@type": "Organization", "name": "CDLTest360" }, "image": [ ] }